- Prepare an OFFLINE Server to install the Windows Server edition. For our environment will install the Windows Server 2022 Standard Evaluation (Desktop Experience) to a mini PC. See How to download and install Windows Server 2022;
- Check the latest Updates for .NET Framework and Updates for Windows Server 2022 (21H2) to manually download them from the Microsoft Update Catalog;
- For example, we have KB5034682 – Cumulative Updates for .NET Framework for Windows Server 2022 (21H2) and March 12, 2024 – KB5035857 (OS Build 20348.2340) – Cumulative Update for Microsoft server (21H2);
- Update the Microsoft Defender Antivirus antimalware platform to the latest version (ex. 4.18.24020.7) by downloading, copying, and executing the files from KB4052623;
- Update the Microsoft Defender Antivirus by downloading, copying, and executing the mpam-fe.exe file from Security intelligence updates for Microsoft Defender Antivirus and other Microsoft antimalware;
- Download, copy and execute to install the latest Microsoft Edge, even if it is not used for an online server environment;
- Install the ADK for Windows Server 2022 by copying, and mounting the .iso files and executing them to the server, see How to download and install the ADK for Windows Server 2022;
- Download and Install the Microsoft Deployment Toolkit (MDT) to the server;
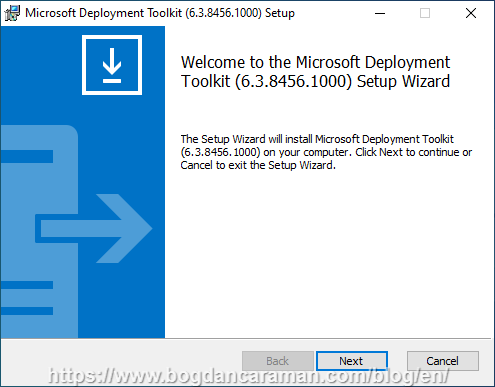
- Double click on MicrosoftDeploymentToolkit_x64.msi file till Welcome Setup Wizard appears, then Next to continue;
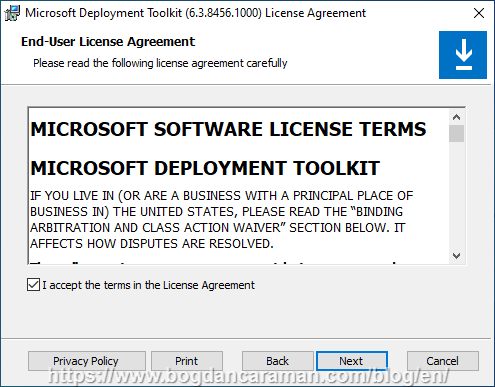
- Accept the License Agreement and Next to continue;
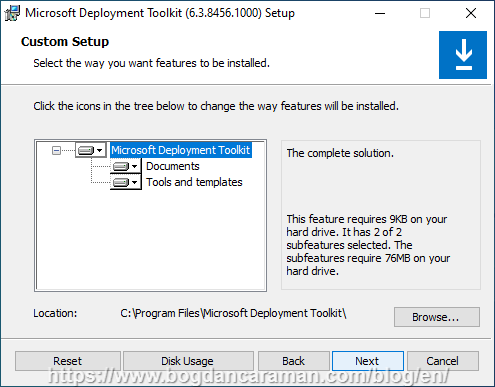
- Select the way you want features to be installed;
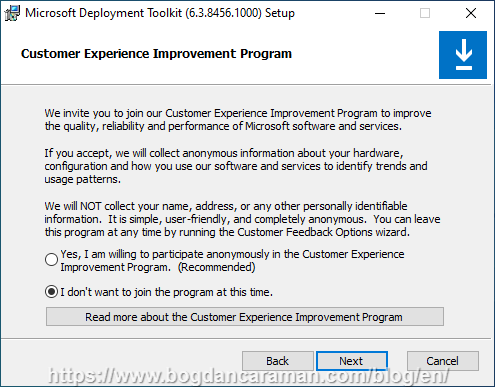
- Join, or not, the Customer Experience Improvement Program to improve the quality, ratability, and performance of Microsoft software and services;
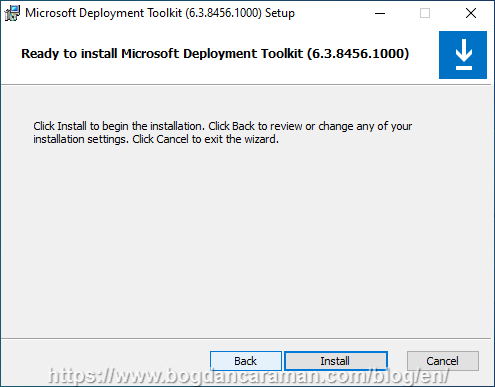
- Click Install to begin installation;
- Click the Finish button to exit the Setup Wizard.
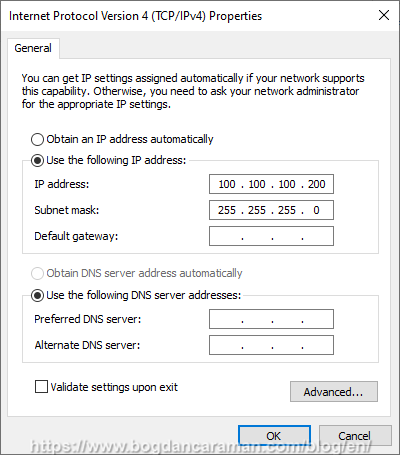
- So, now we have ADK for Windows Server 2022 and Microsoft Deployment Toolkit (MDT) installed on our OFFLINE Windows Server 2022; The next step is to set up a static IP address, and for our example will set the IP address to 100.100.100.200 and the Subnet mask 255.255.255.0 to your Internet Protocol Version 4 (TCP/IPv4); Open the Control Panel > Network and Sharing Center > Change adapter settings > Right-click the Ethernet icon and select Properties; Restart your server after this changes;
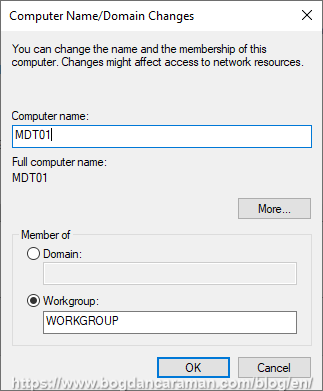
- Change the Computer Name to MDT01 or whatever you want and Restart the Server;
- Open the Server Manager > Manage > and select Add Roles and Features;

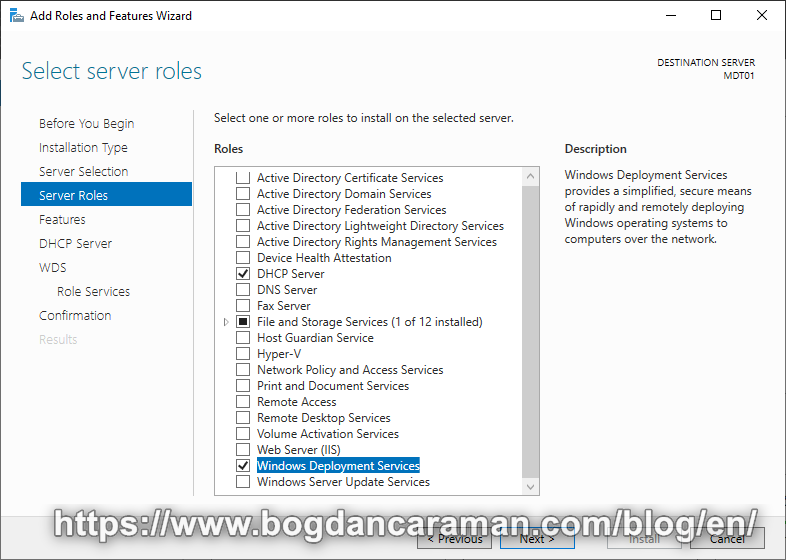
- Click three times the Next button till you arrive at Server Roles and select the DHCP Server and Windows Deployment Services also with features included;
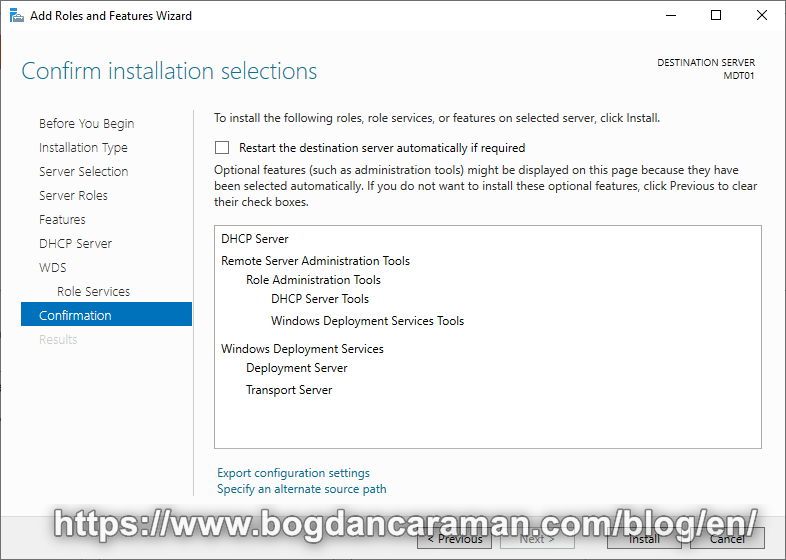
- Confirm installation selections > Install;
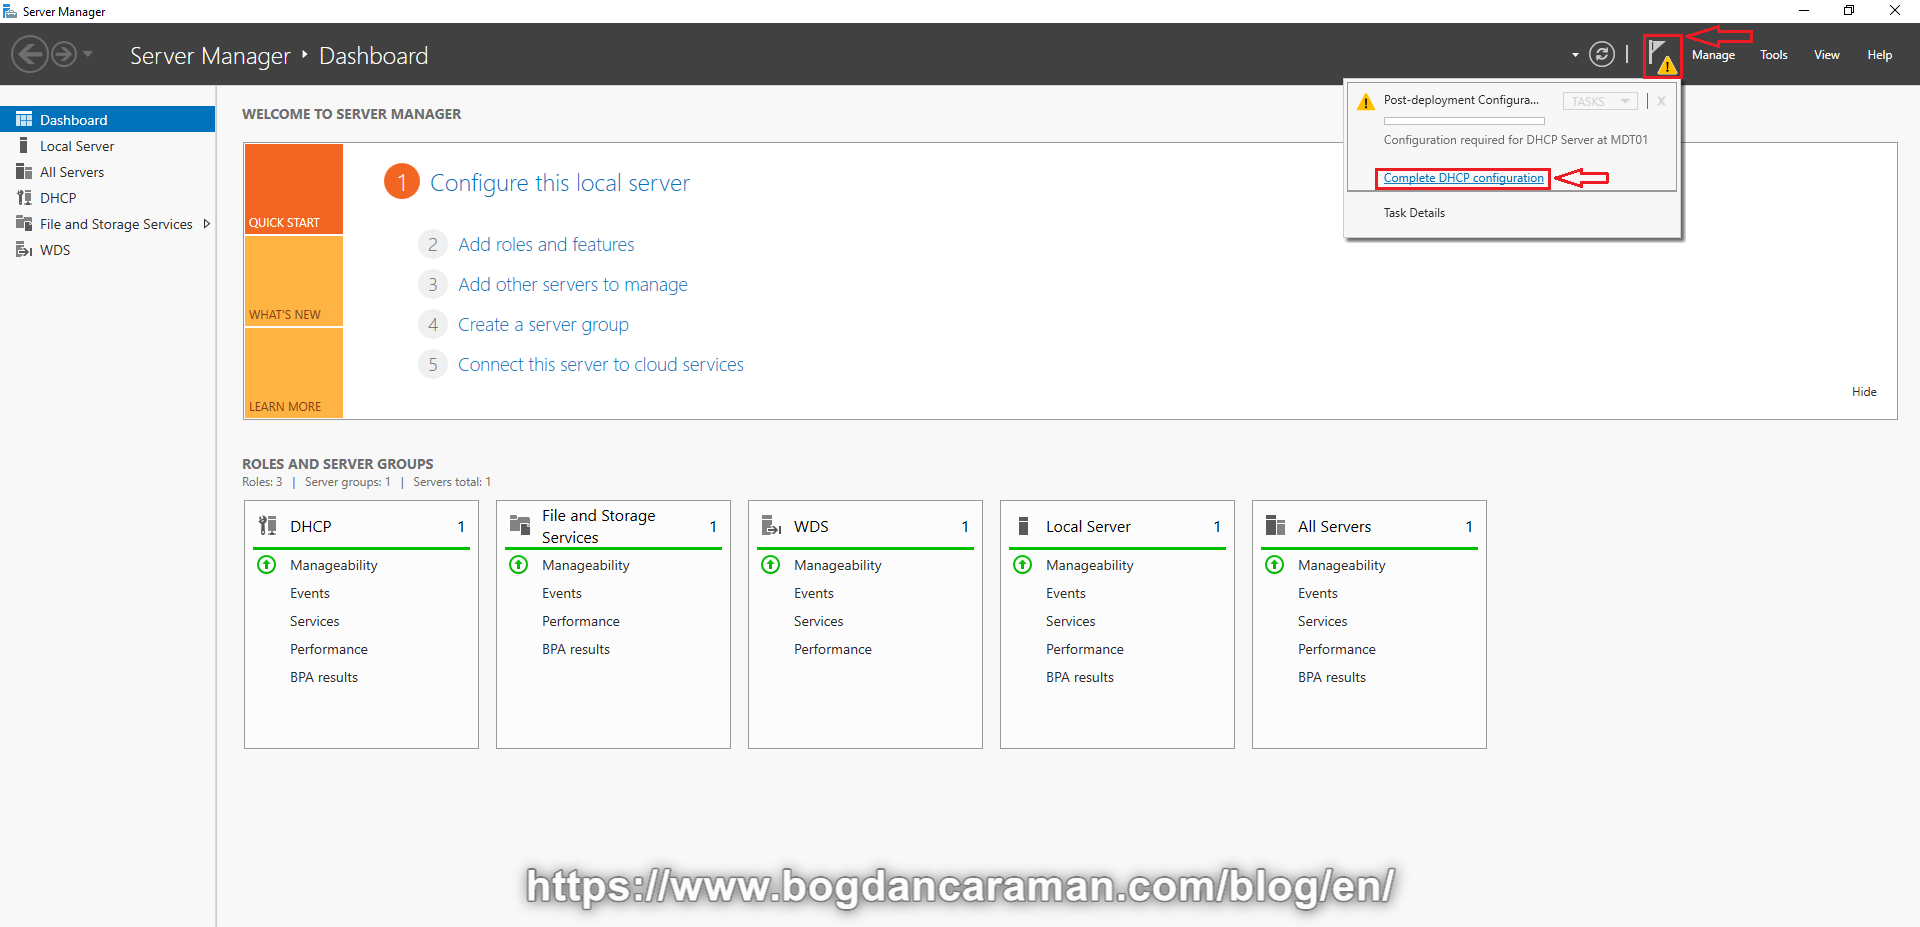
- Click on Complete DHCP configuration from Server Manager > Notifications;
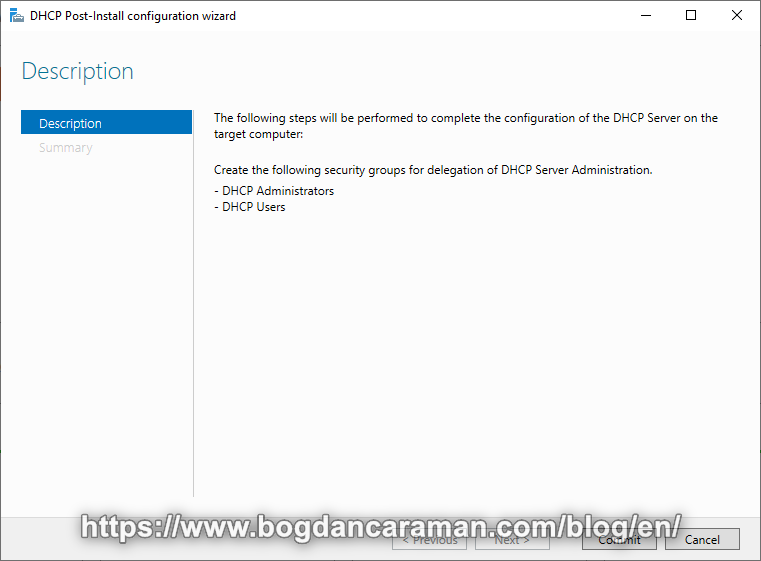
- Click Commit to Create the DHCP Administrators and Users security groups and then restart the Server;
- Create and Configure the DHCP Scope;
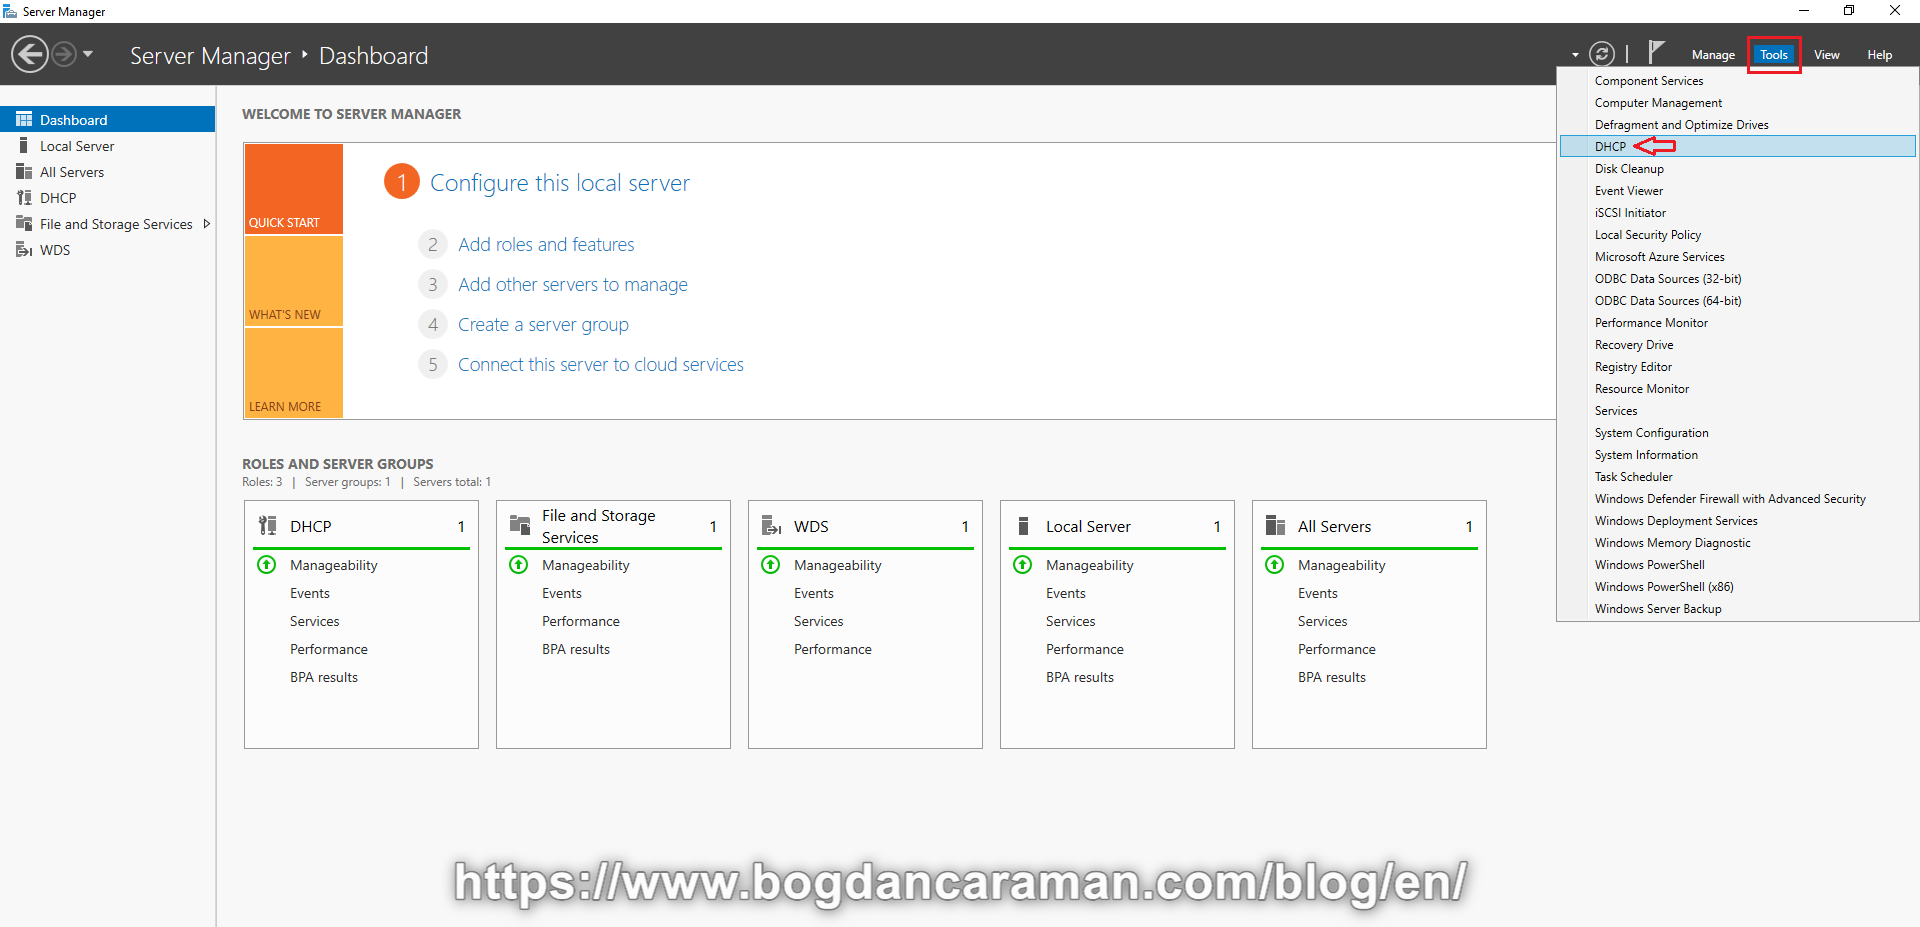
- Open the Server Manager console. Then, go to the Tools menu on the Server Manager and click on DHCP;
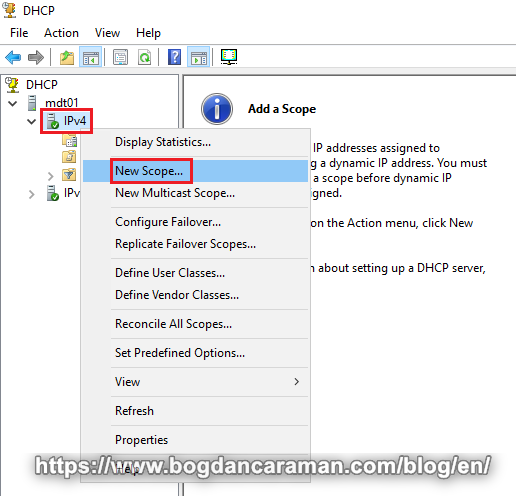
- Expand your DHCP server and right-click on IPv4. Select New Scope from the options and click on Next on the Welcome window;
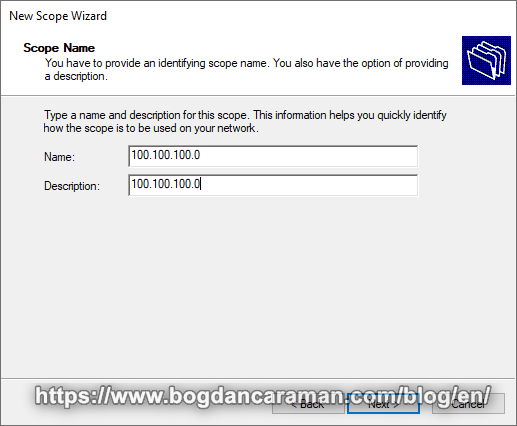
- Put a name and the description for your new DHCP scope, then click on Next;
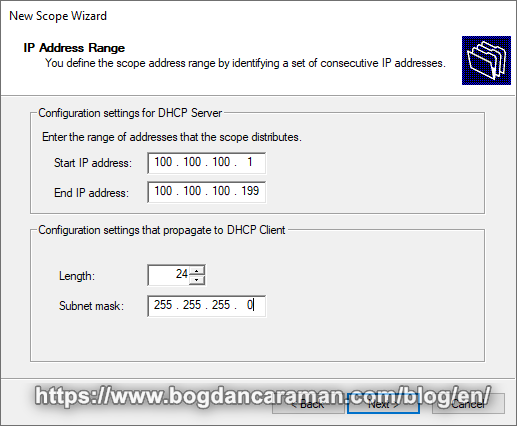
- Specify the range of IP addresses for your DHCP pool using the Start IP address and End IP address boxes. Then, configure the subnet mask and click on Next;
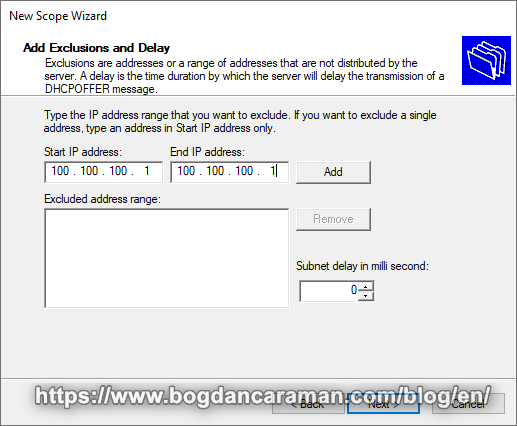
- Add the exclusion range using the Start and End IP address boxes and then click Next;
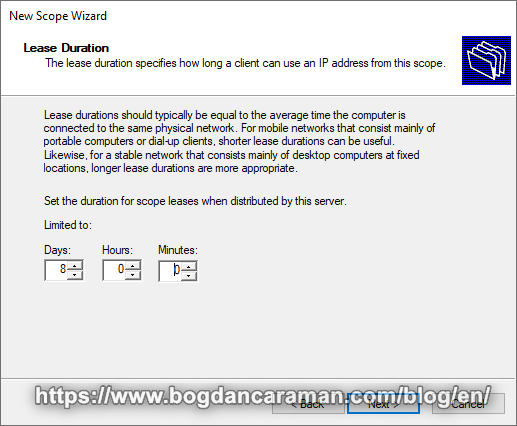
- Define the Lease duration or leave it as default and click on Next afterward;
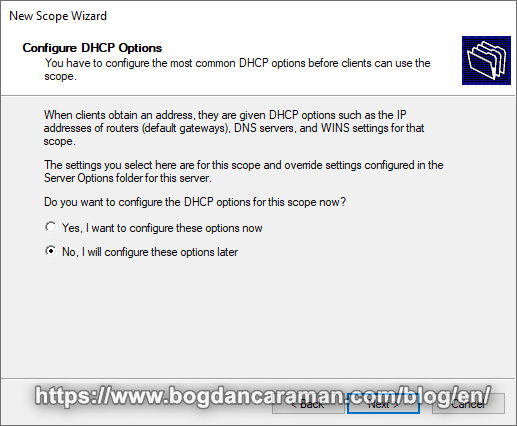
- Check out the second option on the next screen to Complete the New Scope Wizard;
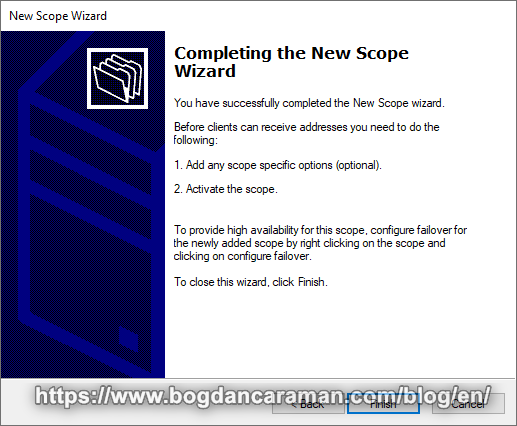
- To close the Wizard click Finish;
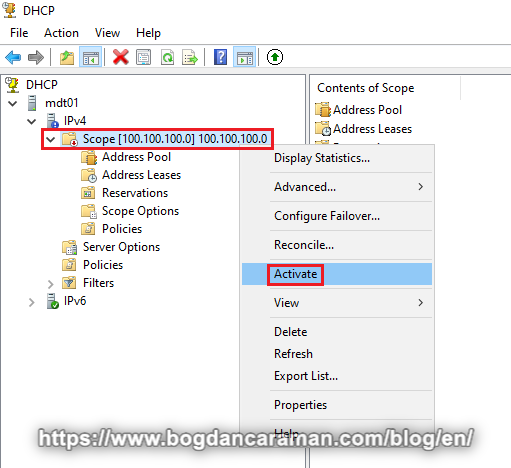
- Right-click on the Scope name and then Activate;
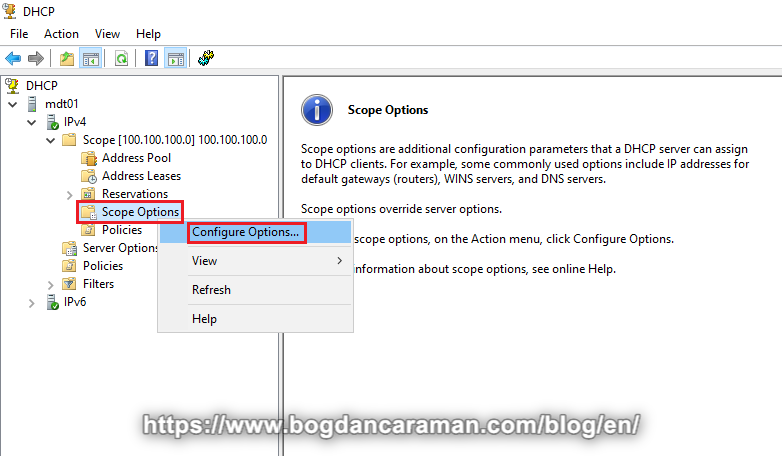
- Right-click on the Scope Options and then Configure Options… ;
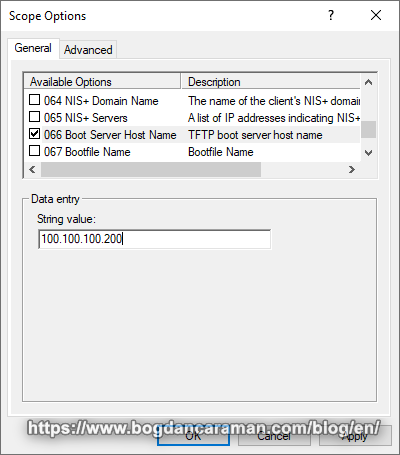
- At Scope Options > General > Select: 066 Boot Server Host Name and complete the String value with our OFFLINE Server Address: 100.100.100.200;
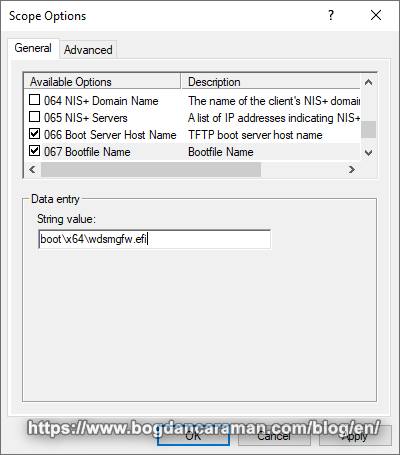
- At Scope Options > General> Select: 067 Bootfile Name and the following String value: boot\x64\wdsmgfw.efi; What is Wdsmgfw EFI?;
- Apply to exit from Scope Options;
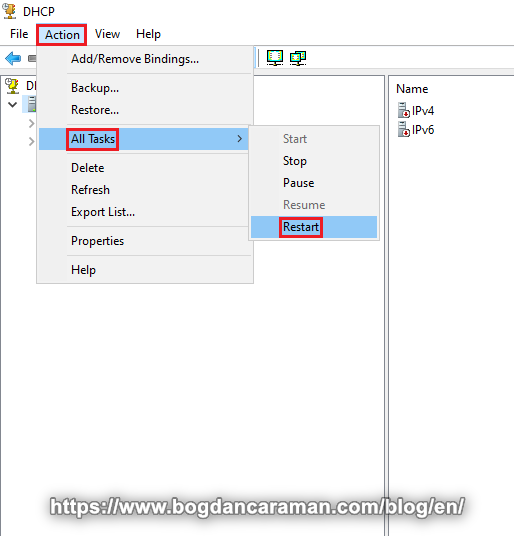
- Restart the DHCP Server;
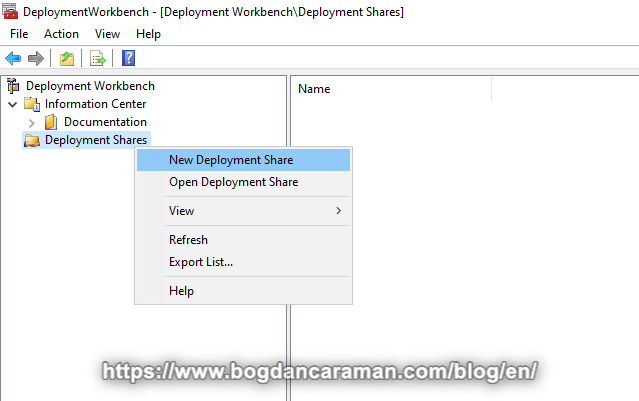
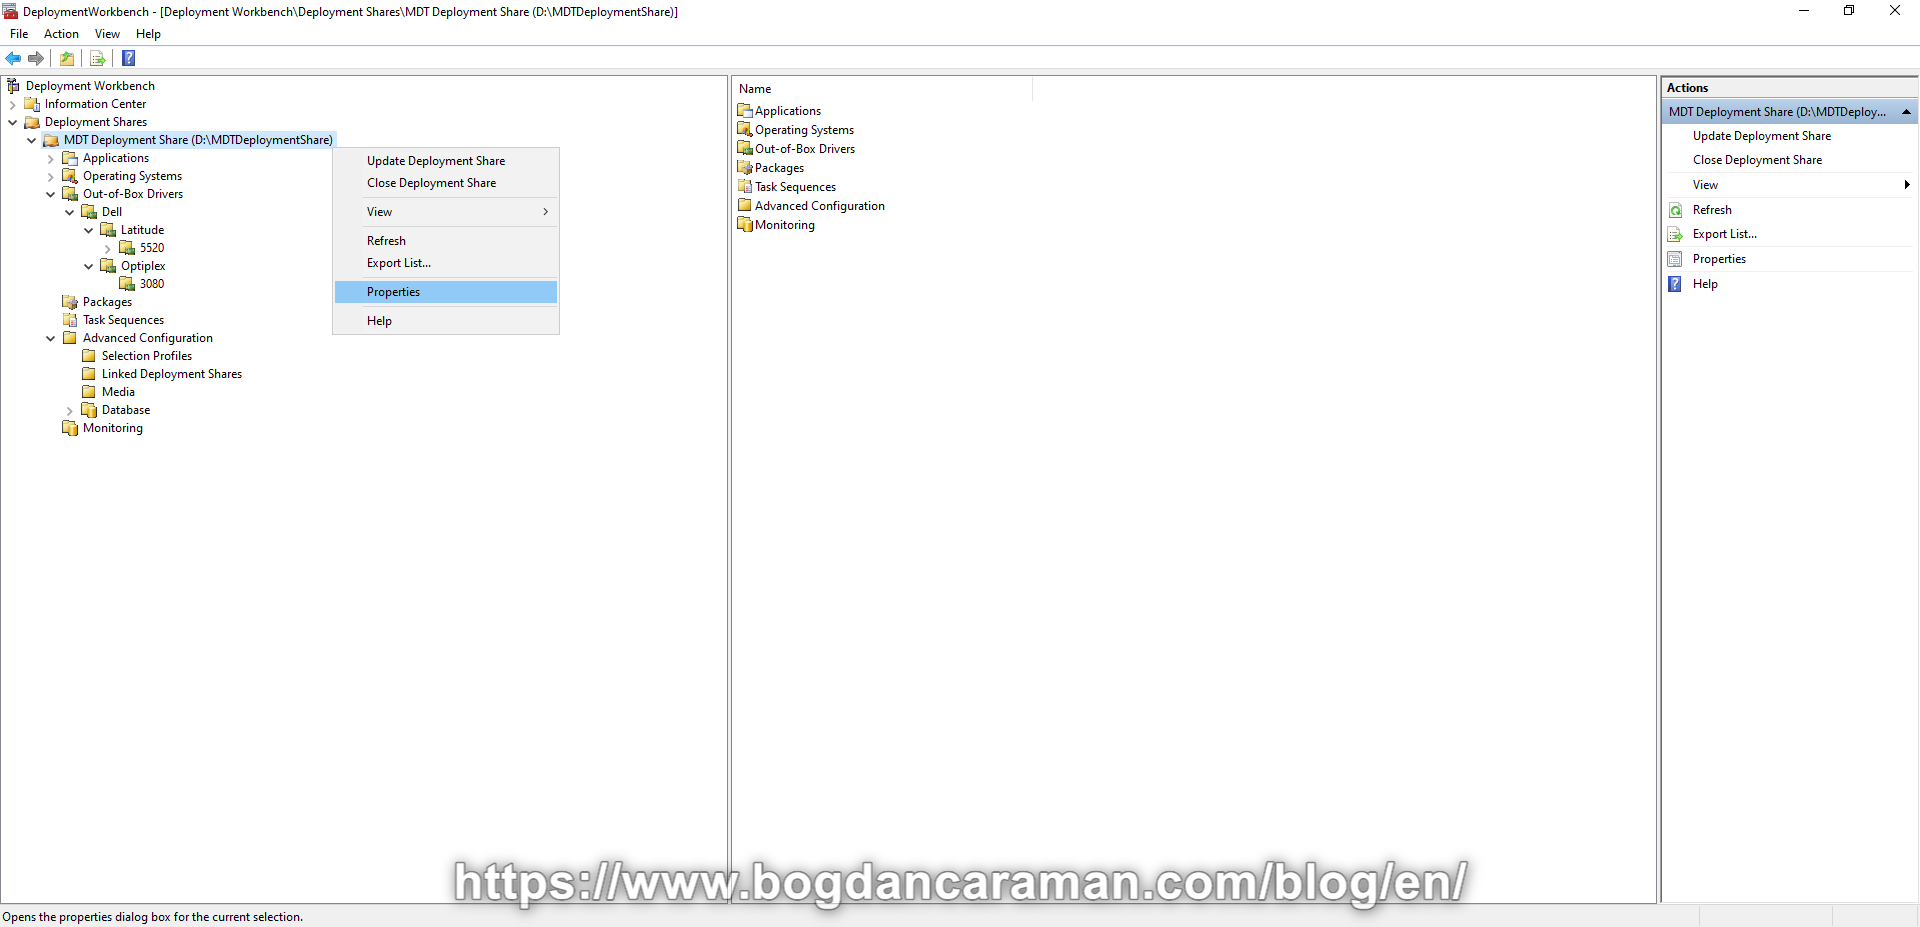
- Open Deployment Workbench;
- Right-click Deployment Shares and select New Deployment Share;
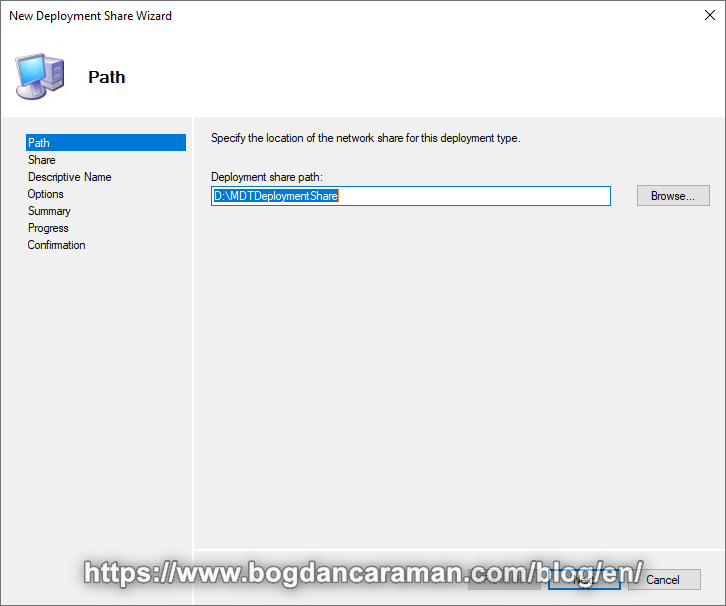
- On the Path page, in the Deployment share path text box, type D:\MDTDesploymentShare and click Next;
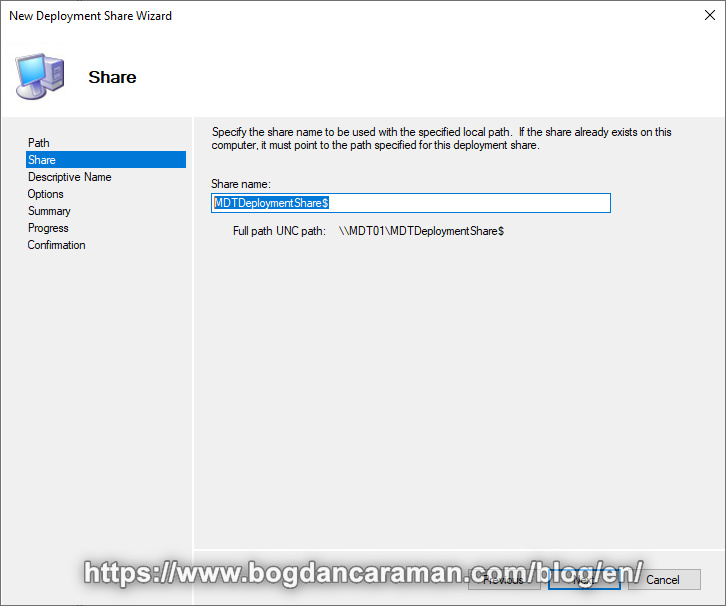
- On the Share page, in the Share name text box, type MDTDeploymentShare$ and click Next;
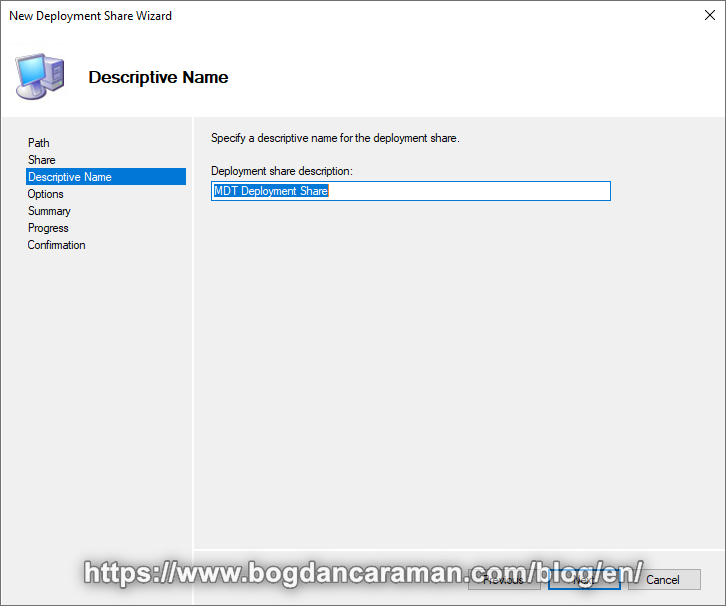
- On the Descriptive Name page, in the Deployment share description text box, type MDT Deployment Share and click Next;
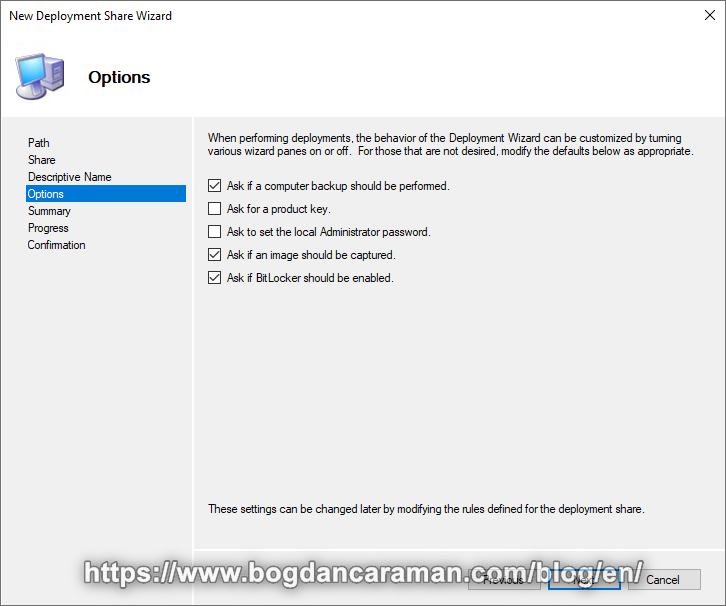
- On the Options page, accept the default settings (or unselect all), click Next twice, and then Finish;
- Using File Explorer, verify that you can access the \\MDT01\MDTDeploymentShare$;
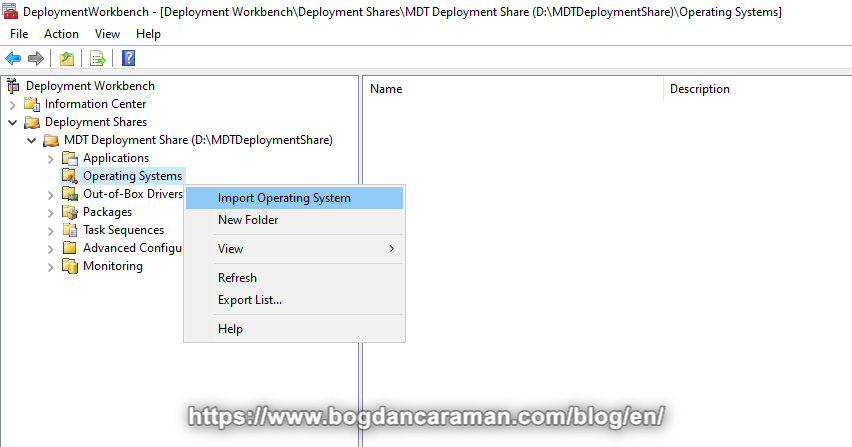
- Right-click on Operating Systems to Import Operating System (ex. Windows 10 Enterprise);
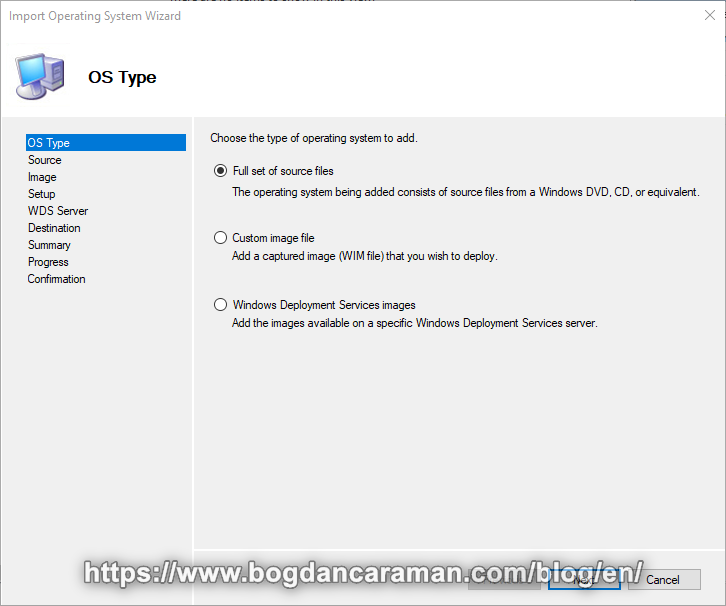
- Choose the type of operating system to add > Full set of source files;
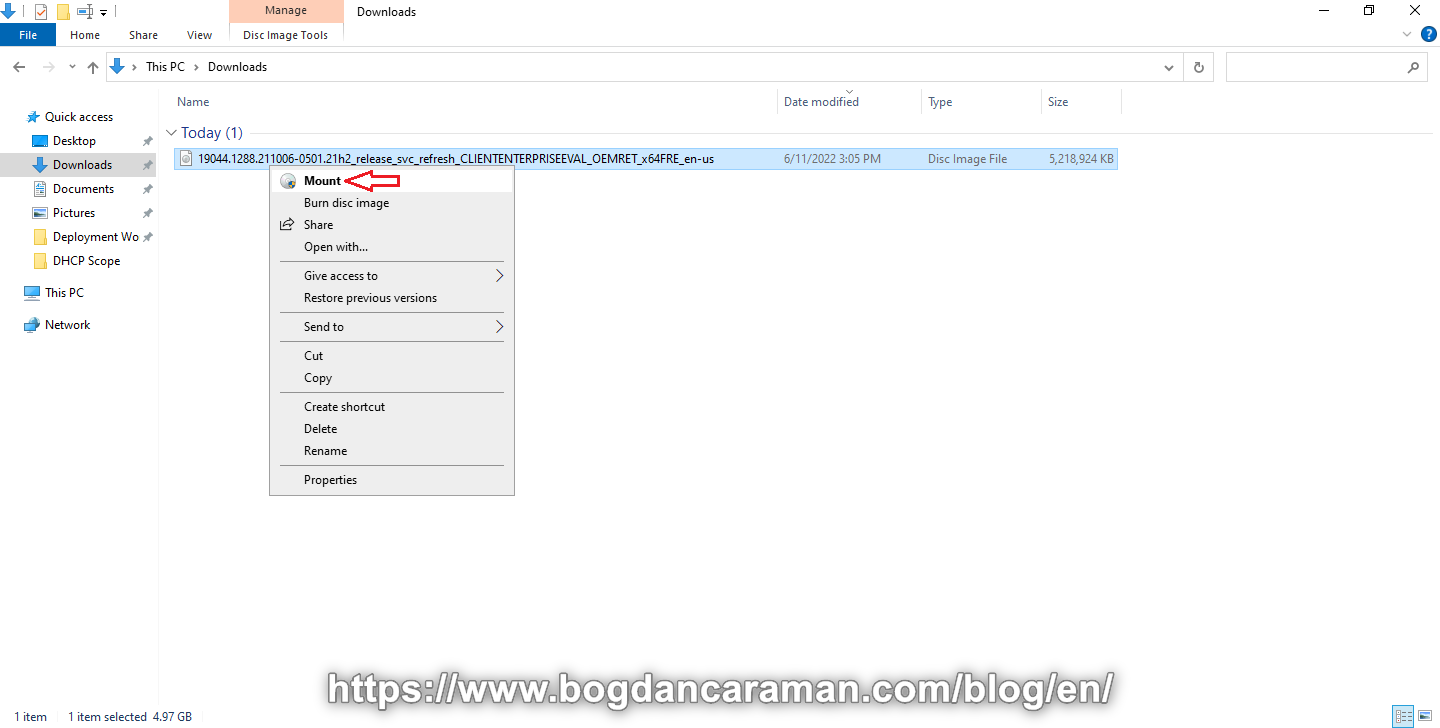
- Go to the latest 19044.1288.211006-0501.21h2_release_svc_refresh_CLIENTENTERPRISEEVAL_OEMRET_x64FRE_en-us.iso and right-click to Mount;
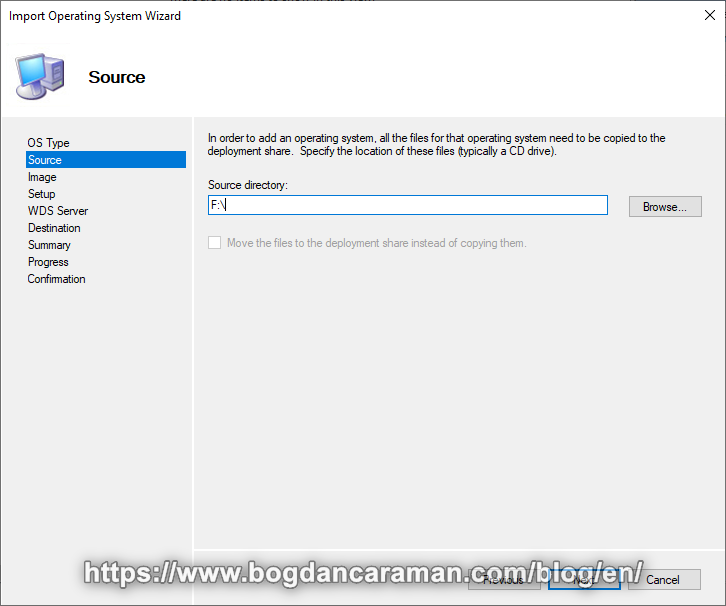
- Source directory > Browse… and search for the Windows 10 Enterprise mounted (ex. F:\);
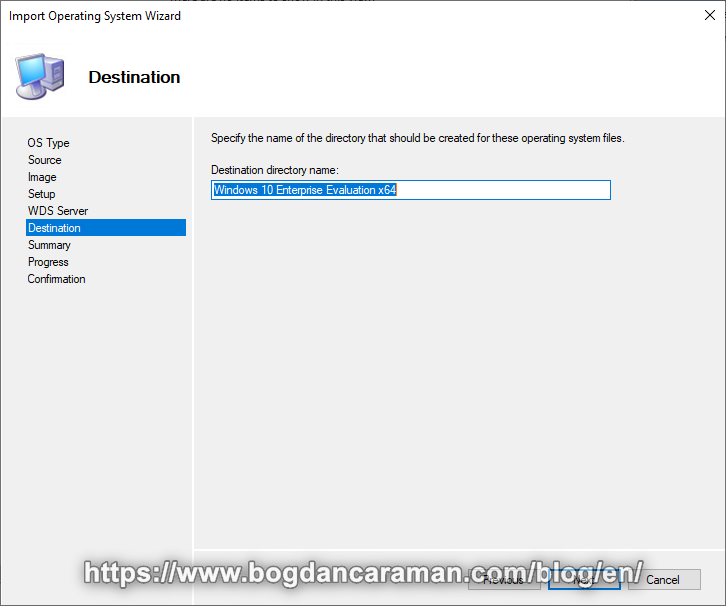
- Destination directory name: Windows 10 Enterprise Evaluation x64;
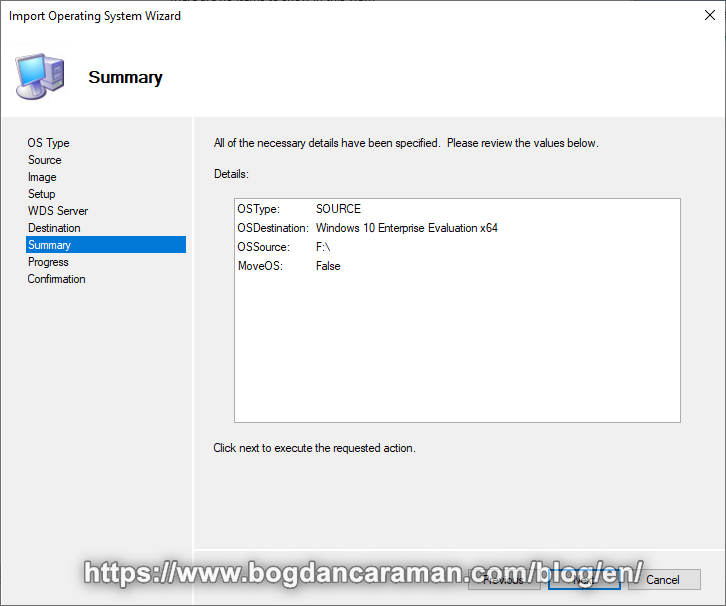
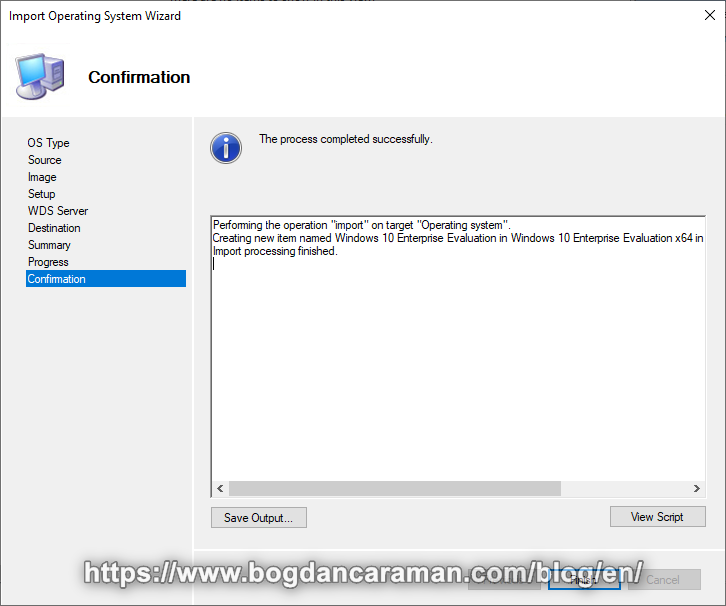
- Click Next to execute the requested action;
- When the Import processing is finished click to Finish the Wizard;
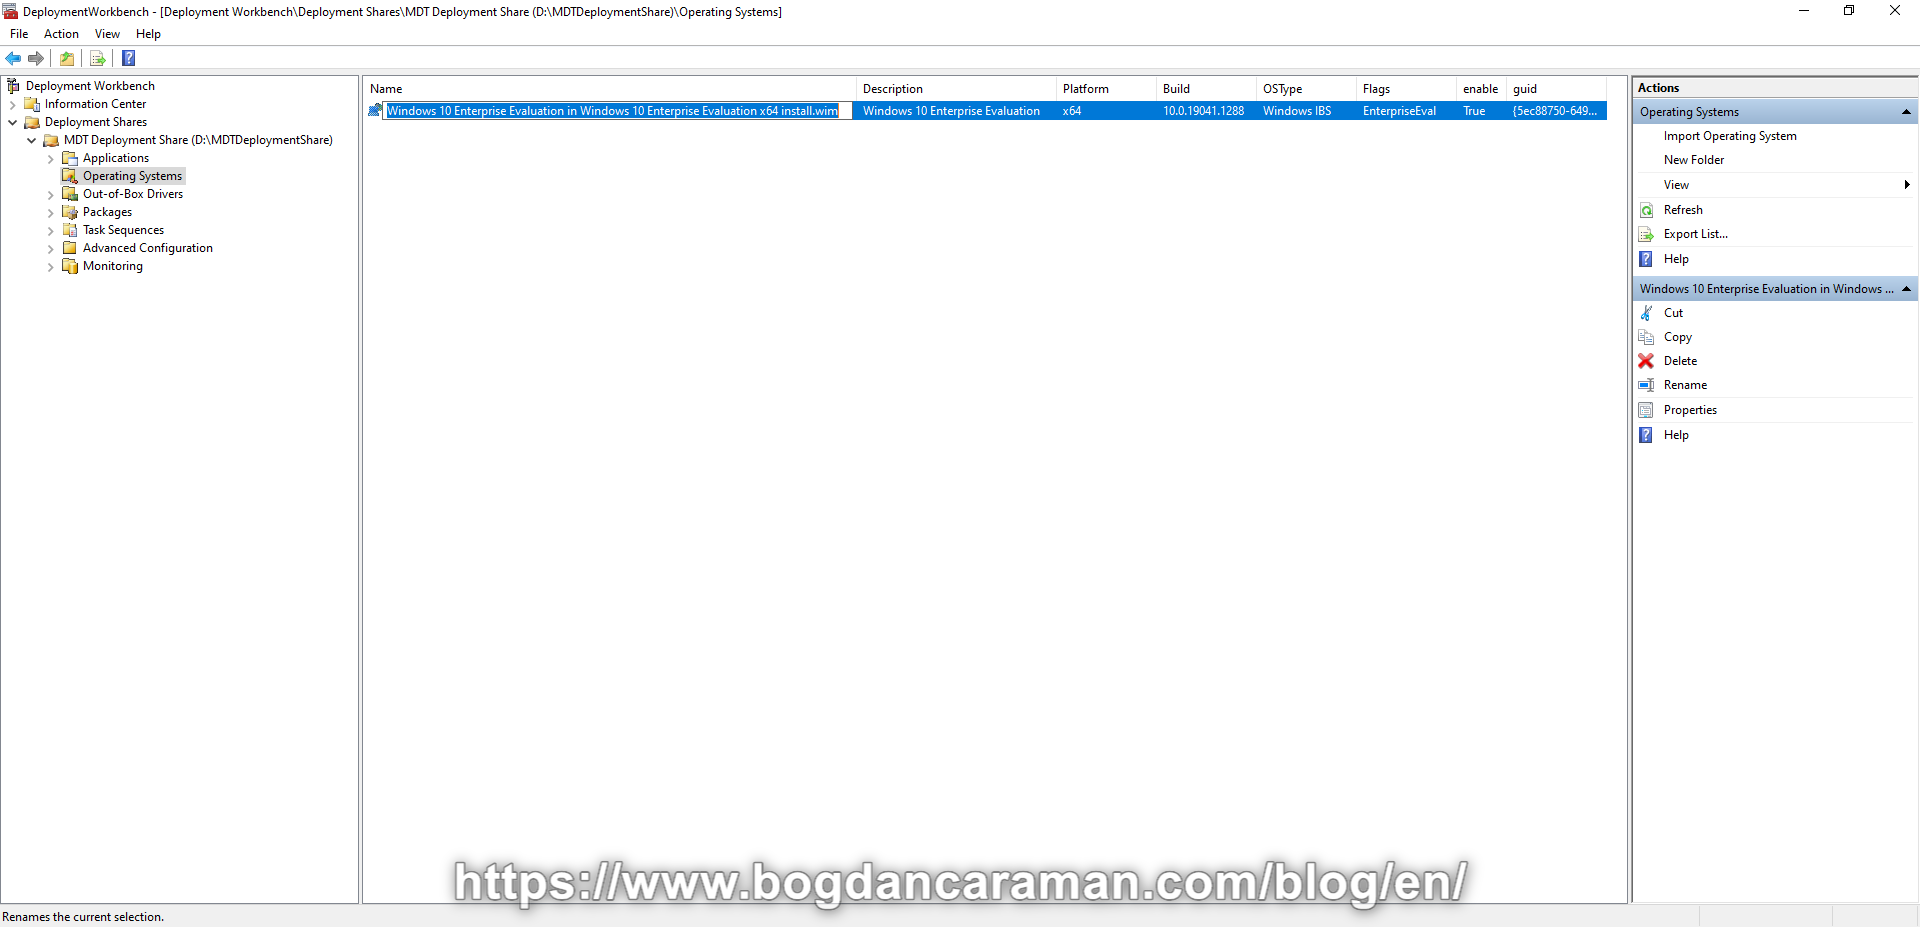
- Now we have the Operating System sources to the D:\MDTDeploymentShare\Operating Systems\Windows 10 Enterprise Evaluation x64 folder;
- Rename Windows 10 Enterprise Evaluation in Windows 10 Enterprise Evaluation x64 install.wim to Windows 10 Enterprise Evaluation;
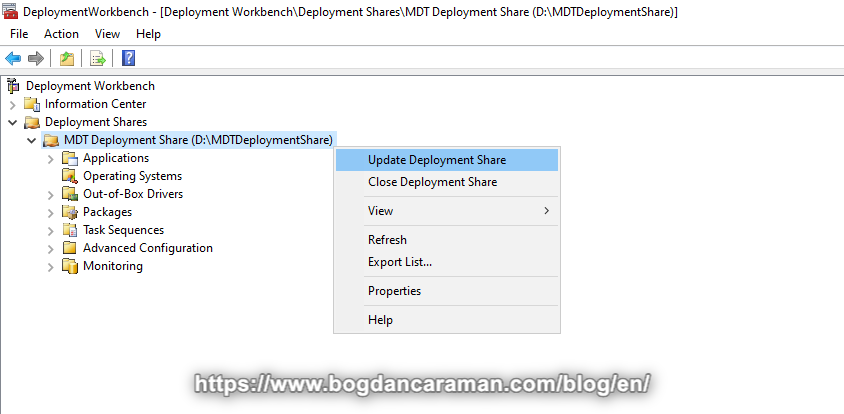
- Right-click the MDT Deployment Share and select Update Deployment Share;
- Use the default options for the Update Deployment Share Wizard (Optimize the boot image updating process);
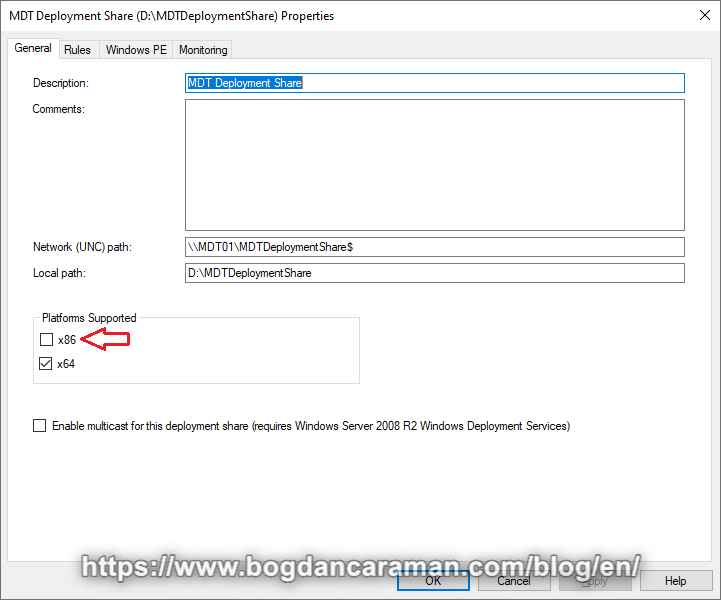
- If you receive some errors please check the following settings by Right-click the MDT Deployment Share and select Properties;
- At General > Platforms Supported > Uncheck x86 (we don’t have devices with x86 CPUs);
- At Windows PE > Platform x64 > Features > select .NET Framework, Apply and OK to Exit;

- Right-click the MDT Deployment Share and select Update Deployment Share again;
- Use the Completely regenerate the boot images option for the Update Deployment Share Wizard but the process can take 5 to 10 minutes;
- Open Windows Deployment Services (WDS);
- Right-click on MDT01 and click Configure Server;
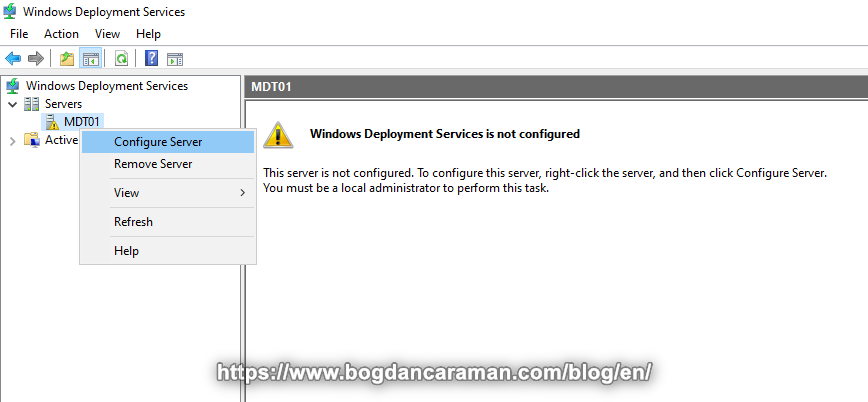
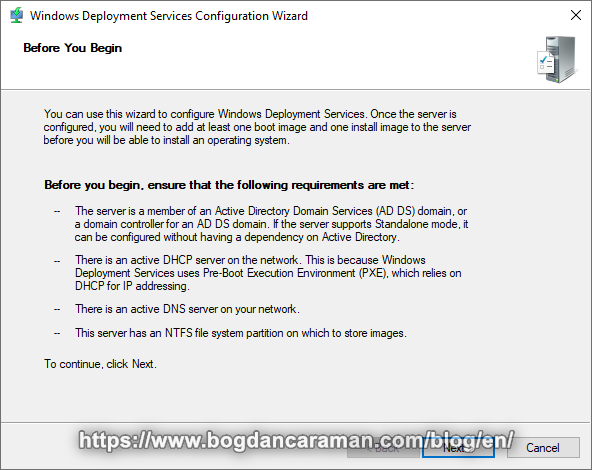
- Before you begin, ensure that the following requirements are met;
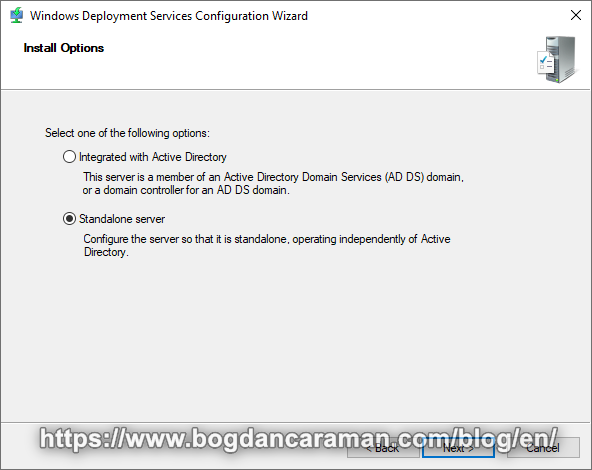
- Select Standalone server;
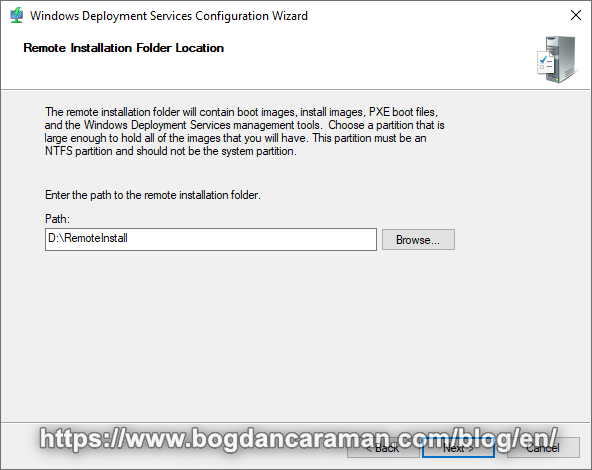
- Enter the patch to the remote installation folder: D:\RemoteInstall;
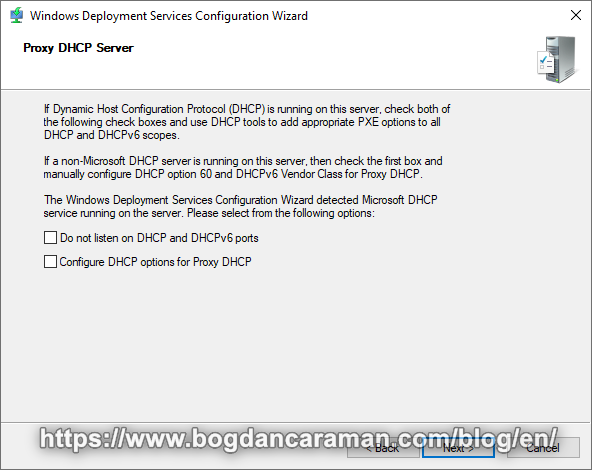
- Proxy DHCP Server > Uncheck Do not listen on DHCP and DHCPv6 ports, Configure DHCP options for Proxy DHCP;
- PXE Server Initial Settings > Respond to all client computers (known and unknown);

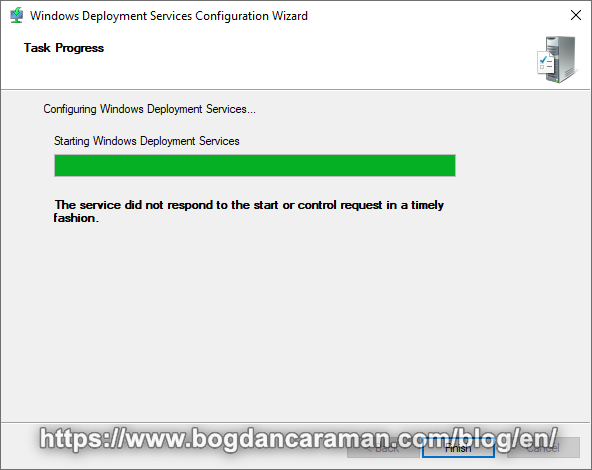
- Task Progress > Finish;
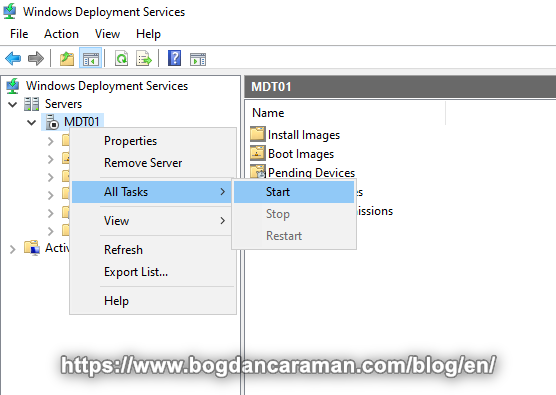
- Start the Windows Deployment Services by Right-click on MDT01 > All Tasks > Start;
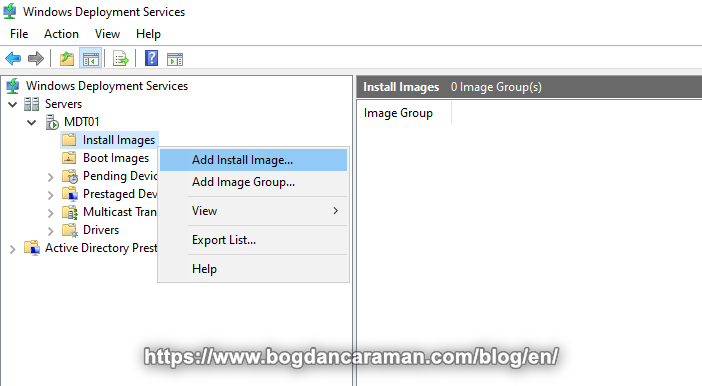
- Right-click Install Images and select Add Install Image... ;
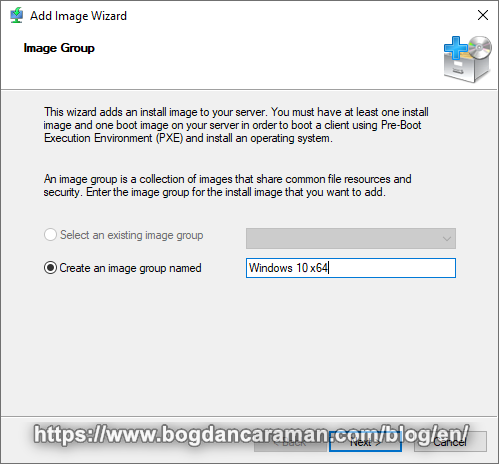
- Add Image Wizard > Image Group > Create an image group named: Windows 10 x64;
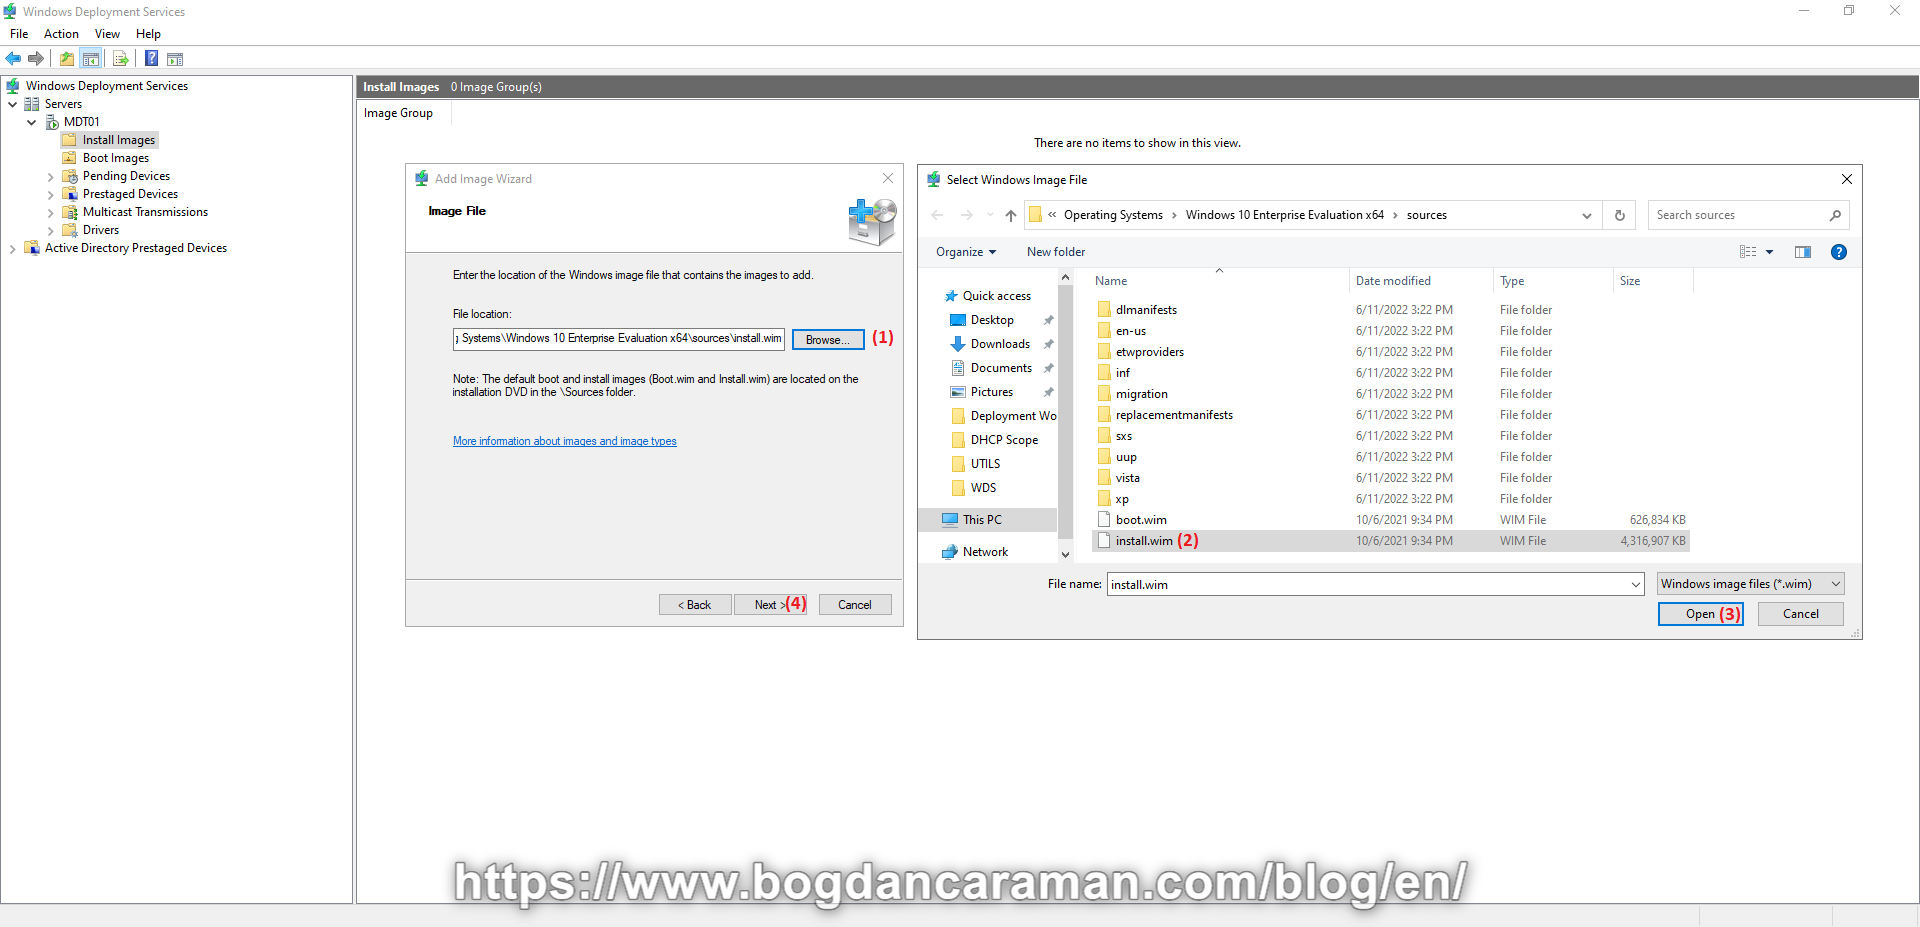
- Add Image Wizard > Image File > Browse to D:\MDTDeploymentShare\Operating Systems\Windows 10 Enterprise Evaluation x64\sources and select install.wim, then Open and Next;
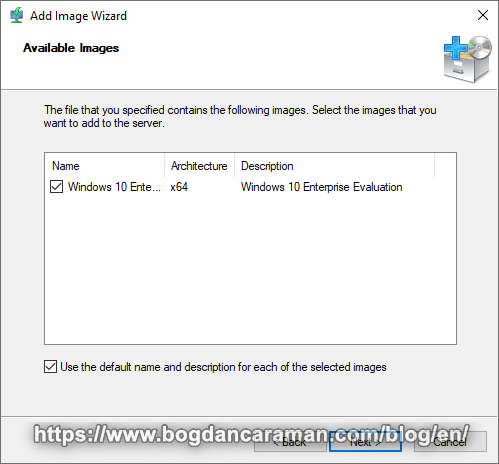
- Add Image Wizard > Available Images >Next;
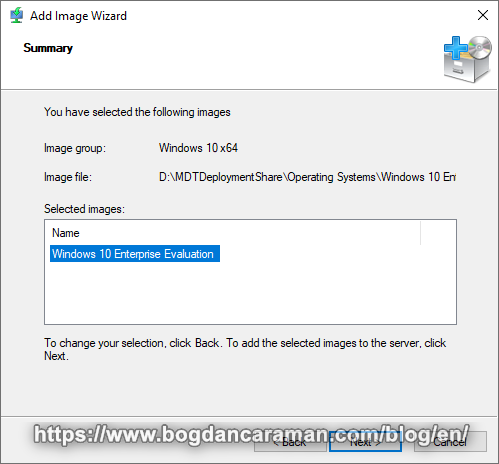
- Add Image Wizard > Summary > Next;
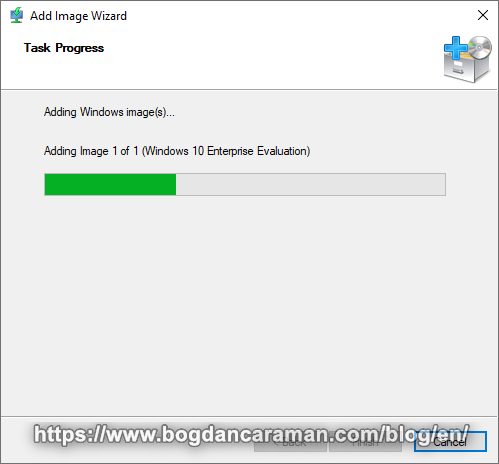
- Add Image Wizard > Task Progress;
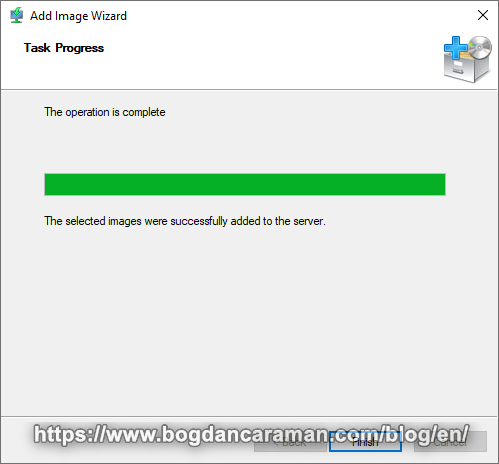
- Add Image Wizard > Task Progress > Finish;
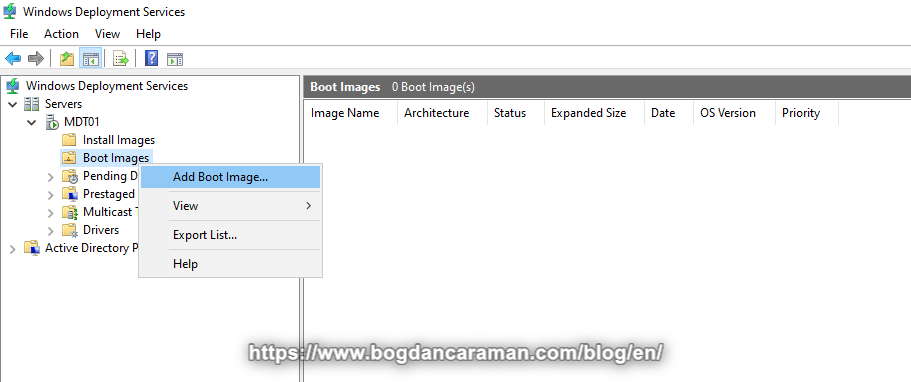
- Right-click Boot Images and select Add Boot Image… ;
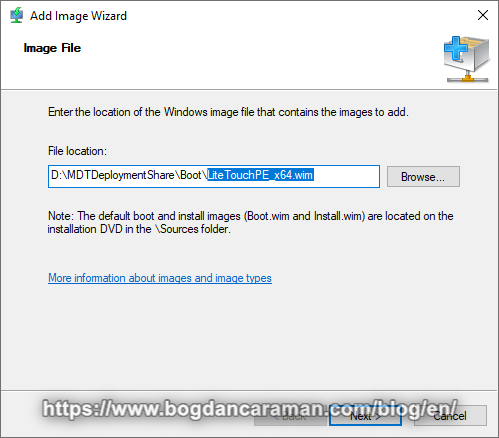
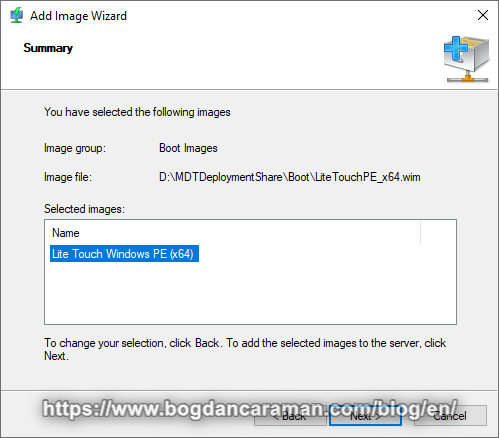
- Browse to the D:\MDTDeploymentShare\Boot\LiteTouchPE_x64.wim file;
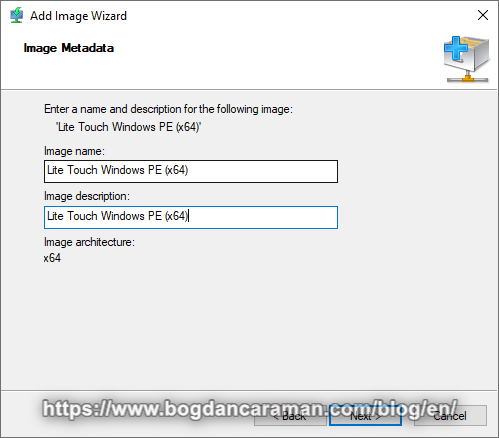
- Add the image with the default settings;
- Add Image Wizard > Summary > Next;
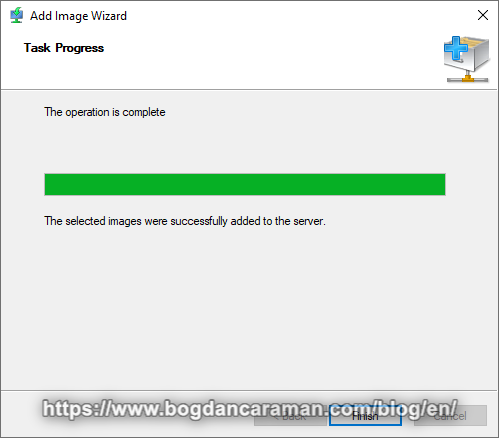
- Add Image Wizard > Task Progress > The operation is complete > Finish;
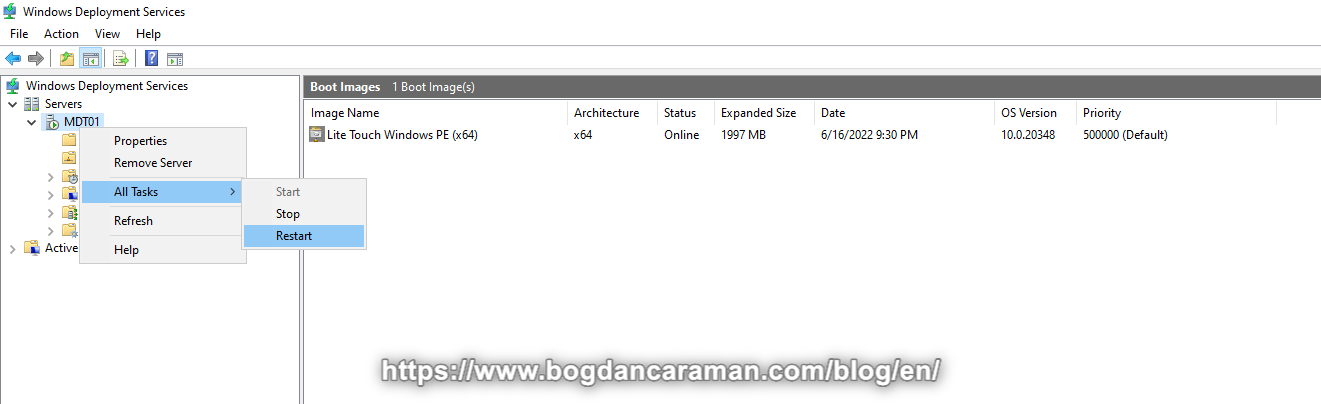
- Right-click on MDT01 > All Tasks > Restart the Windows Deployment Services;
- Prepare the Drivers repository. For boot images, you need to have storage and network drivers on Windows Deployment Services (WDS); for the operating system, you need to have the full suite of drivers on Deployment Workbench (Out-of-Box Drivers);
- Create the driver source structure in the file system; Using File Explorer, create the D:\drivers folder;
- For 10th and 11th Gen Platforms, we need Intel® Rapid Storage Technology Driver Package. Download the latest F6flpy-x64 – VMD.zip (for Intel CPUs), Extract All… and then copy the F6flpy-x64 (Intel® VMD) folder to D:\drivers\Intel;
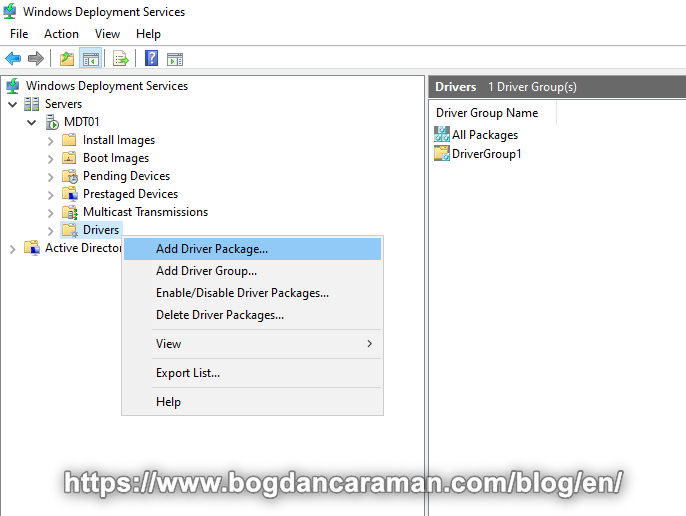
- From the Windows Deployment Services console, expand the Servers node, and then expand MDT01;
- Right-click Drivers and select Add Driver Package… ;
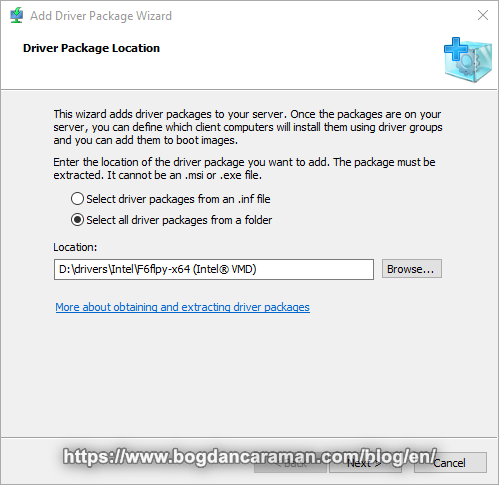
- Add Driver Package Wizard > Driver Package Location choose to Select all driver packages from a folder. Browse… to select the Location D:\drivers\Intel\F6flpy-x64 (Intel® VMD) and then click Next;
- Next, after you see Package Details;
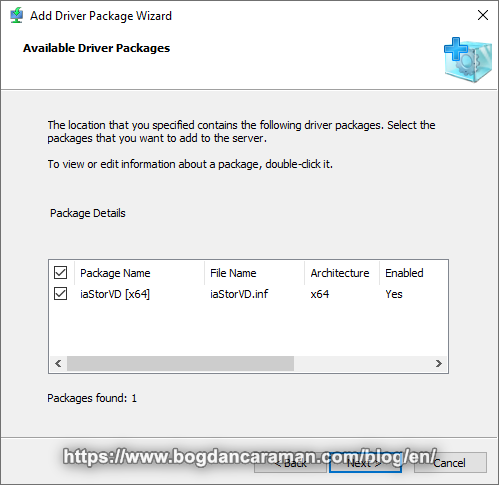
- To view more information about a package, double-click it. Next;
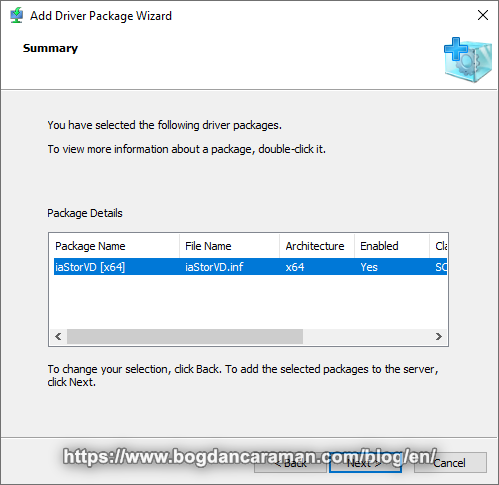
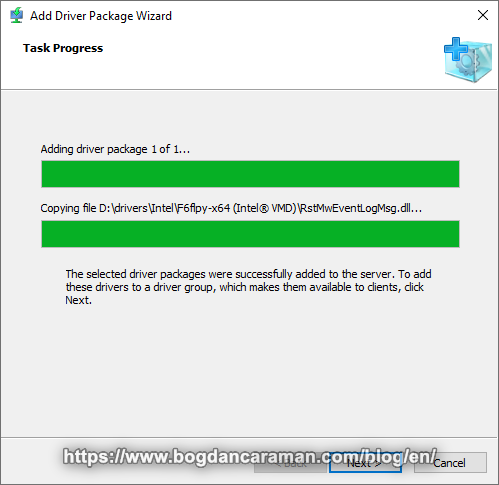
- When The selected driver packages were successfully added to the server click Next;
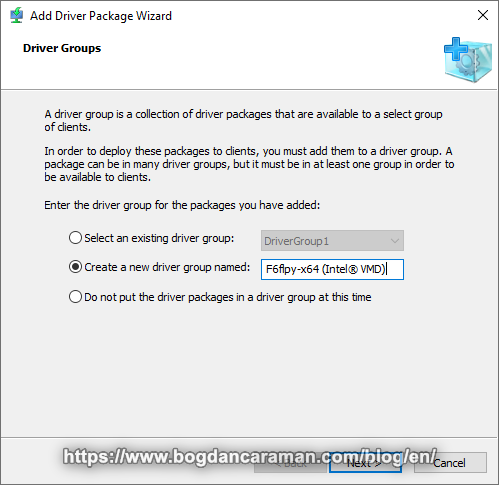
- Add Driver Package Wizard > Driver Groups > Create a new driver group named: F6flpy-x64 (Intel® VMD);
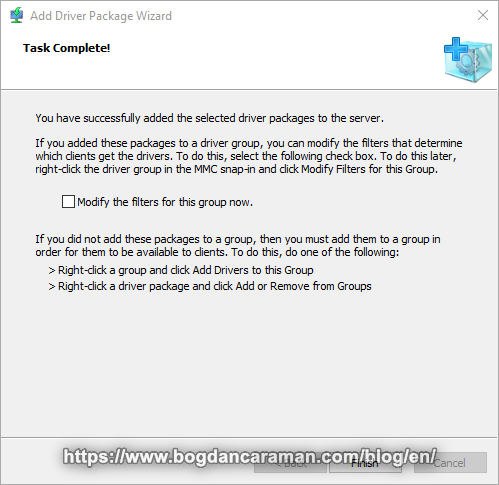
- Add Driver Package Wizard > Task Complete! > Uncheck Modify the filters for this group now. > Finish;
- In our example we are using the following hardware models to deploy the Windows 10: Dell Latitude 5520 and Dell Optiplex 3080;
- For that, we need WinPE 10 driver pack (network and storage) downloaded from Dell Command | Deploy WinPE Driver Packs, WinPE 10; Using 7-Zip, right-click on WinPE10.0-Drivers-A32-473P6.cab, Extract here, then, copy the “winpe” folder to D:\drivers\Dell;
- From the Windows Deployment Services console, expand the Servers node, and then expand MDT01;
- Right-click Drivers and select Add Driver Package;
- At Add Driver Package Wizard > Driver Package Location choose Select all driver packages from a folder. Browse… to select the Location D:\drivers\Dell\winpe and click Next… Next, Next, Ignore the “Windows Deployment Services could not add some of the packages to the server”. To view a list of the failed packages, click Next, and you will see the Failed packages: 11, Next, Create a new driver group named: Dell WinPE, Next, Uncheck Modify the filters for this group now and Finish;
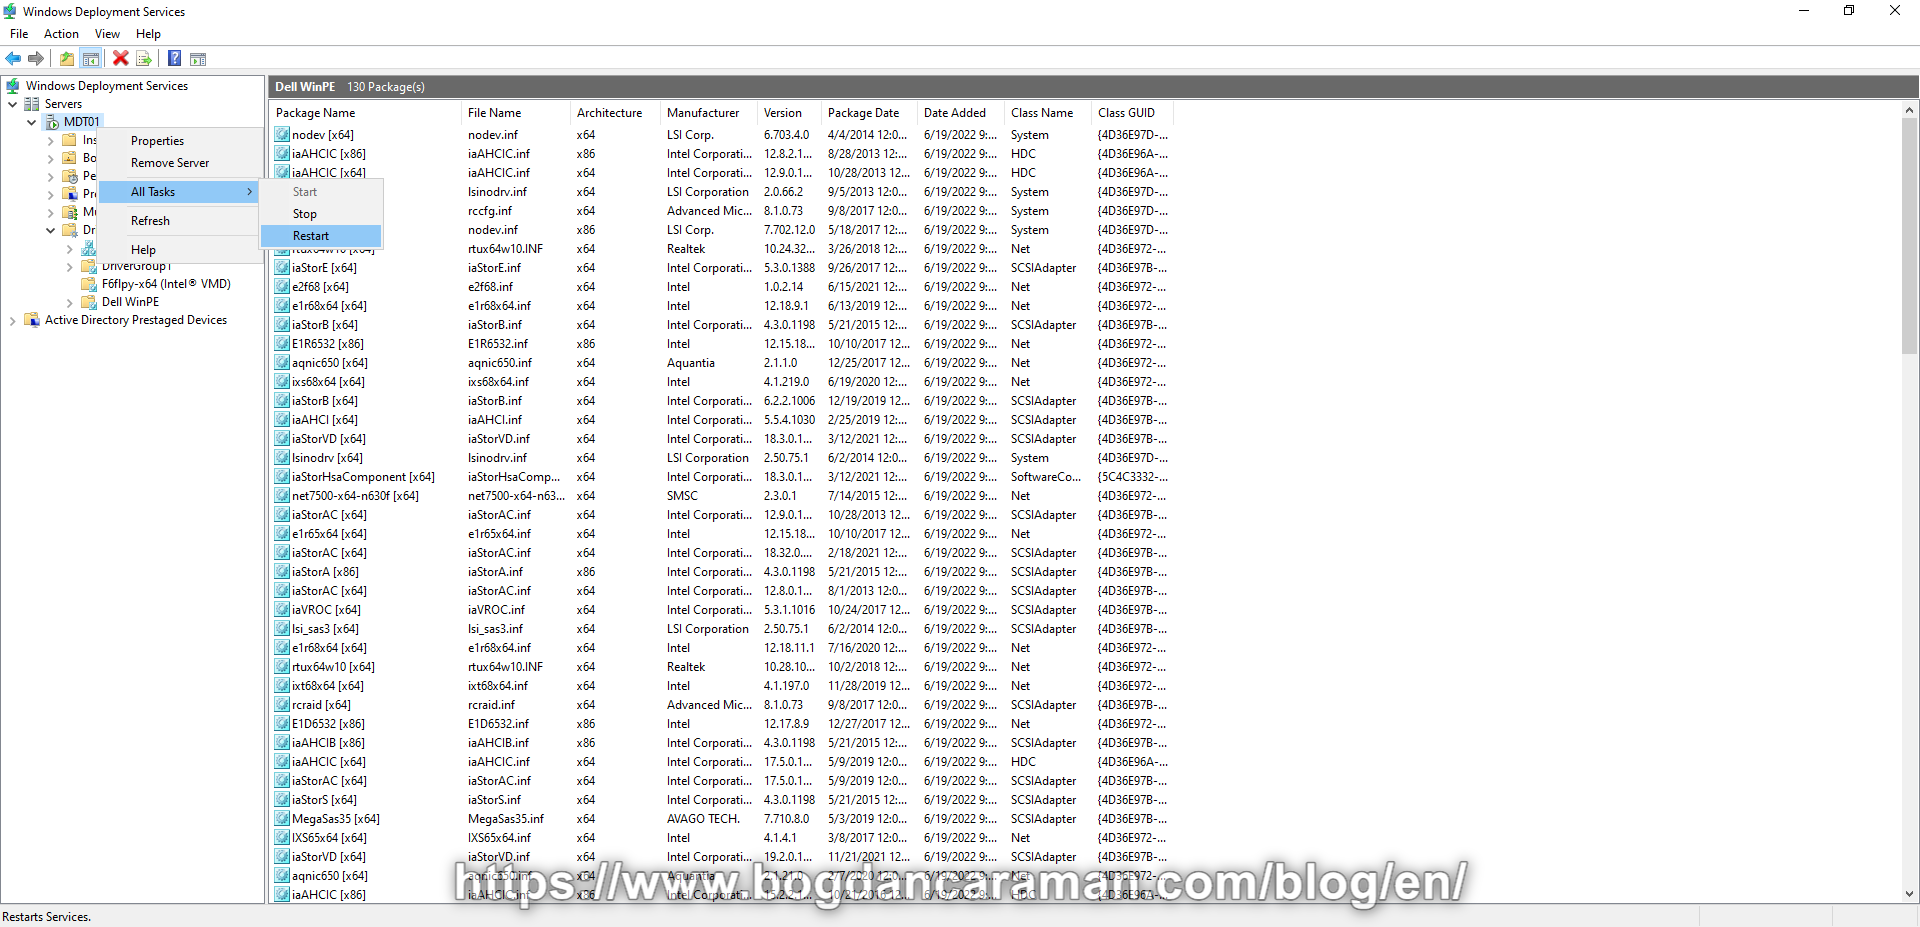
- Right-click on MDT01 > All Tasks > Restart the Windows Deployment Services;
- Prepare the drivers repository;
- In the D:\drivers folder, create the following folder structure: Dell\Latitude\5520, Dell\Optiplex\3080;
- Go to Dell Command | Deploy Driver Packs for Latitude Models to Download and copy to the D:\Dell\Latitude\5520 folder the Latitude 5520 Driver Pack (5520-win10-A06-0FF6X.CAB) or for the new versions with .exe use the CabMaker tool with Microsoft .NET Framework 4 (Standalone Installer) to create .cab package (Example: Extract the files from 5520-20KM7_Win10_1.0_A18.exe to the 5520-20KM7_Win10_1.0_A18 and use it as a Source folder, then create a new Target folder where the new .cab file will be created with the Target file name chosen);
- Go to Dell Command | Deploy Driver Packs for OptiPlex models to Download and copy to the D:\Dell\Optiplex\3080 folder the Optiplex 3080 Driver Pack (3080-win10-A08-H1P51.CAB) or for the new versions with .exe packaged in .cab with CabMaker;
- Create the logical driver structure in MDT;
- On MDT01 > Deployment Workbench > In the Out-Of-Box Drivers node, create the following folder structure: Dell\Latitude\5520, Dell Optiplex\3080;
- Right-click on Out-Of-Box Drivers > New Folder > New folder name: Dell;
- Right-click on Dell > New Folder > Latitude;
- Right-click on Dell > New Folder > Optiplex;
- Right-click on Latitude > New Folder > 5520;
- Right-click on Optiplex > New Folder > 3080;
- Right-click on 5520 and Import Drivers;
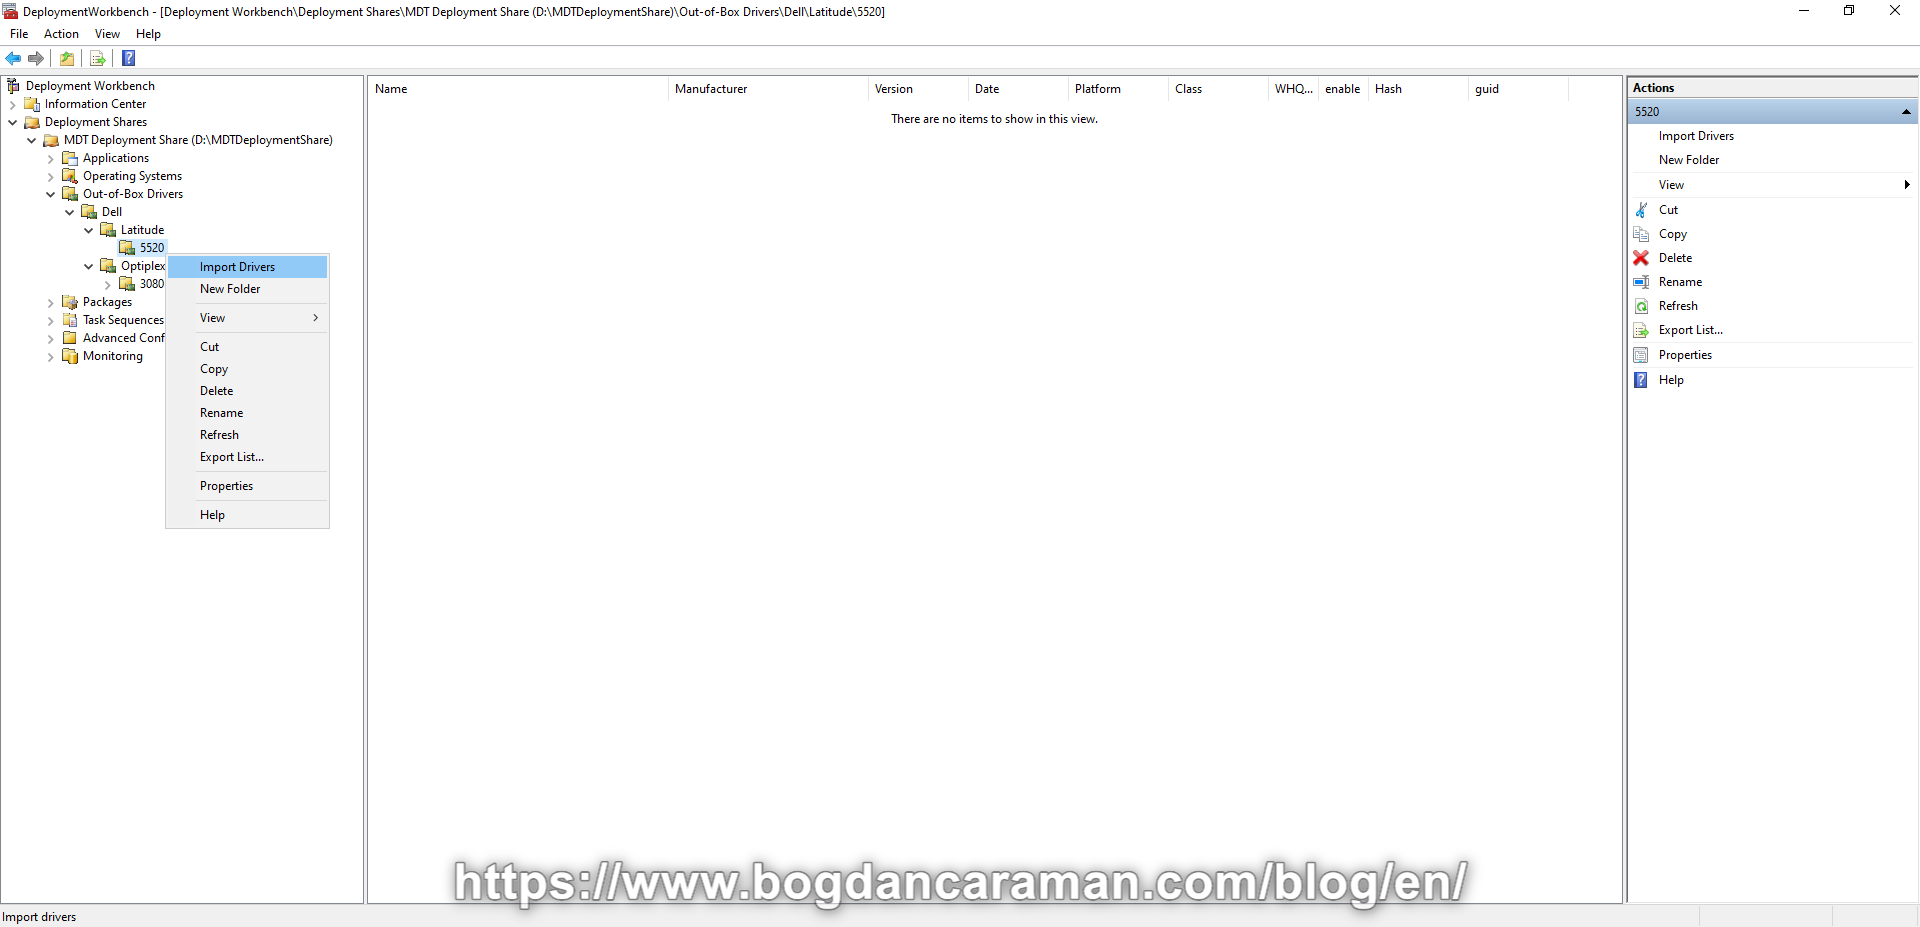
- Browse to select D:\drivers\Dell\Latitude\5520;
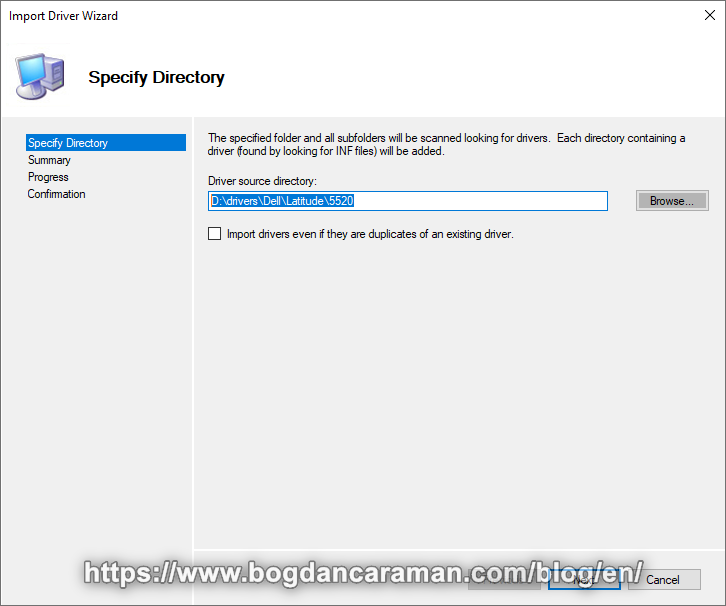
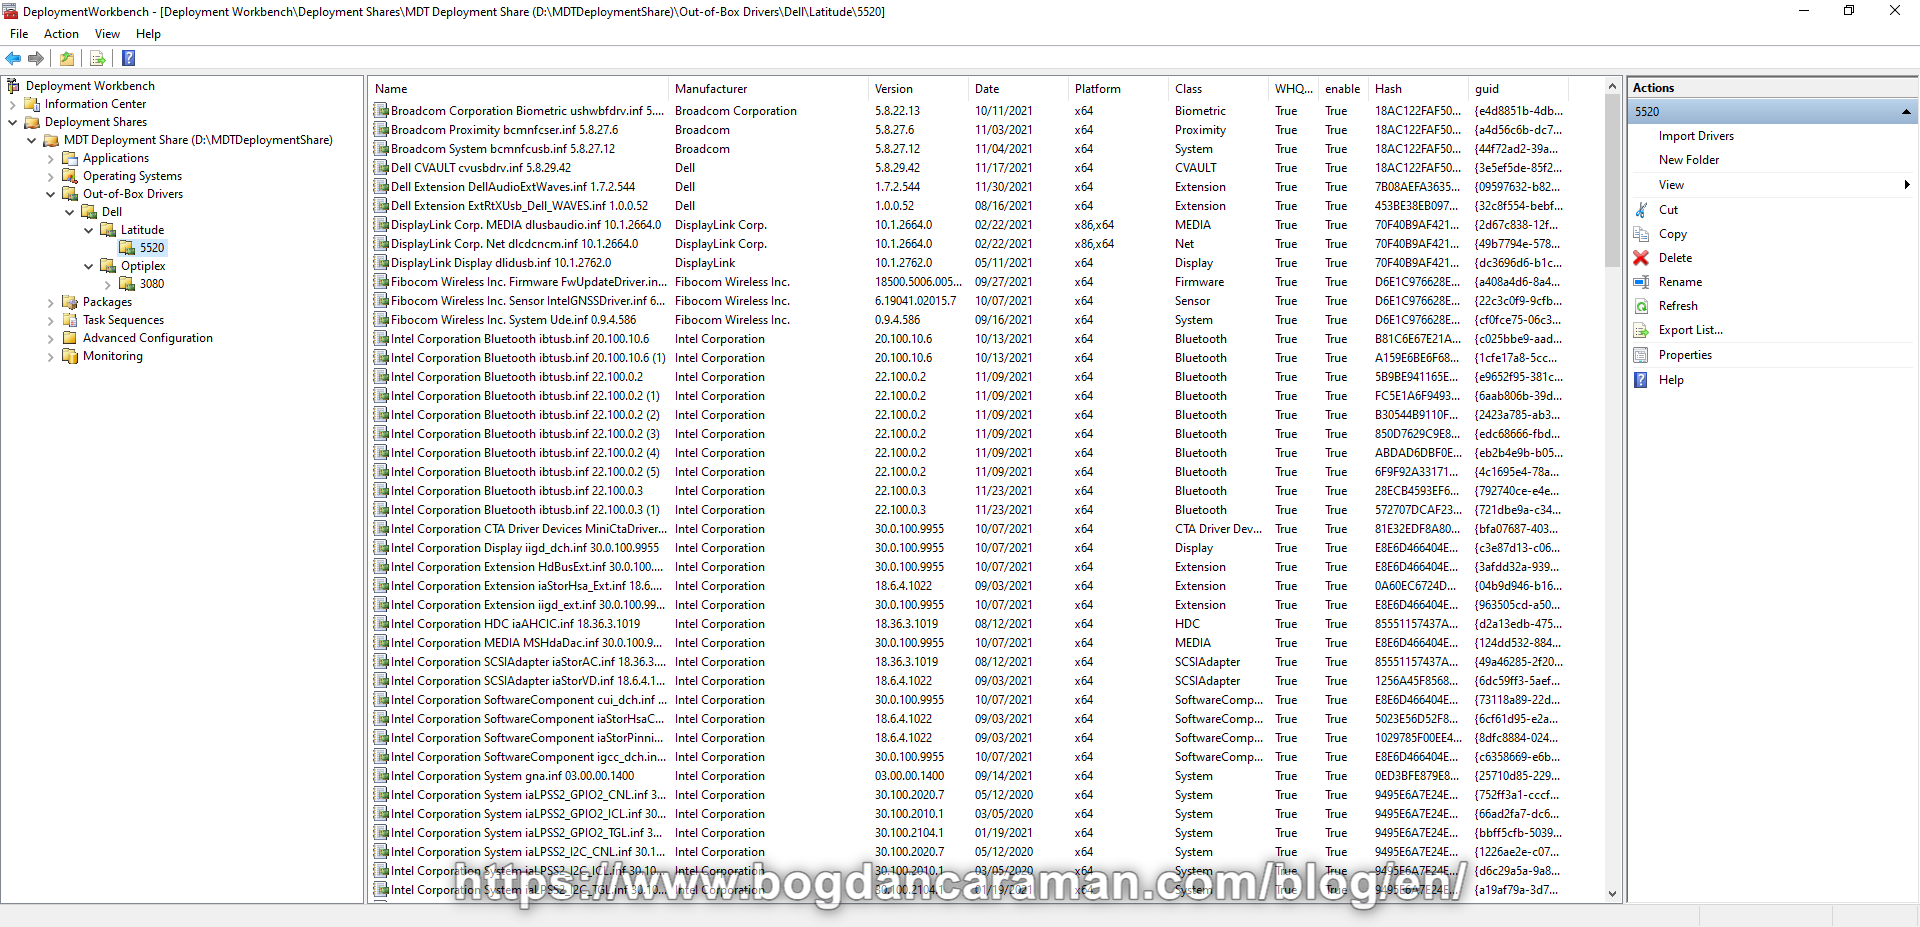
- After Progress > Confirmation (5-10 minutes) > Finish;
- Right-click on 3080 and Import Drivers;
- Browse to select D:\drivers\Dell\Optiplex\3080;
- After Progress > Confirmation (5-10 minutes) > Finish;
- Right-click the MDT Deployment Share and select Update Deployment Share;
- Use the Completely regenerate the boot images option for the Update Deployment Share Wizard (the process can take 5 to 10 minutes);
- Create the selection profiles for boot image drivers;
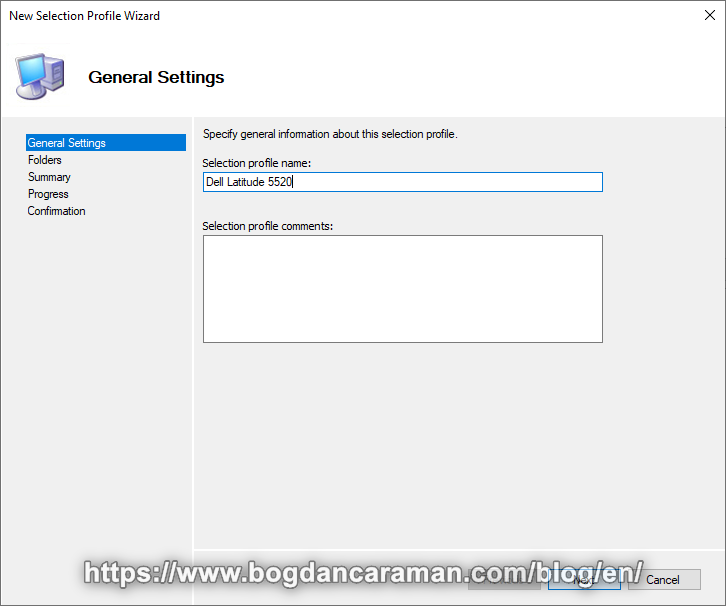
- In the Deployment Workbench, under the MDT Deployment Share node, expand the Advanced Configuration node, right-click the Selection Profiles node, and select New Selection Profile;
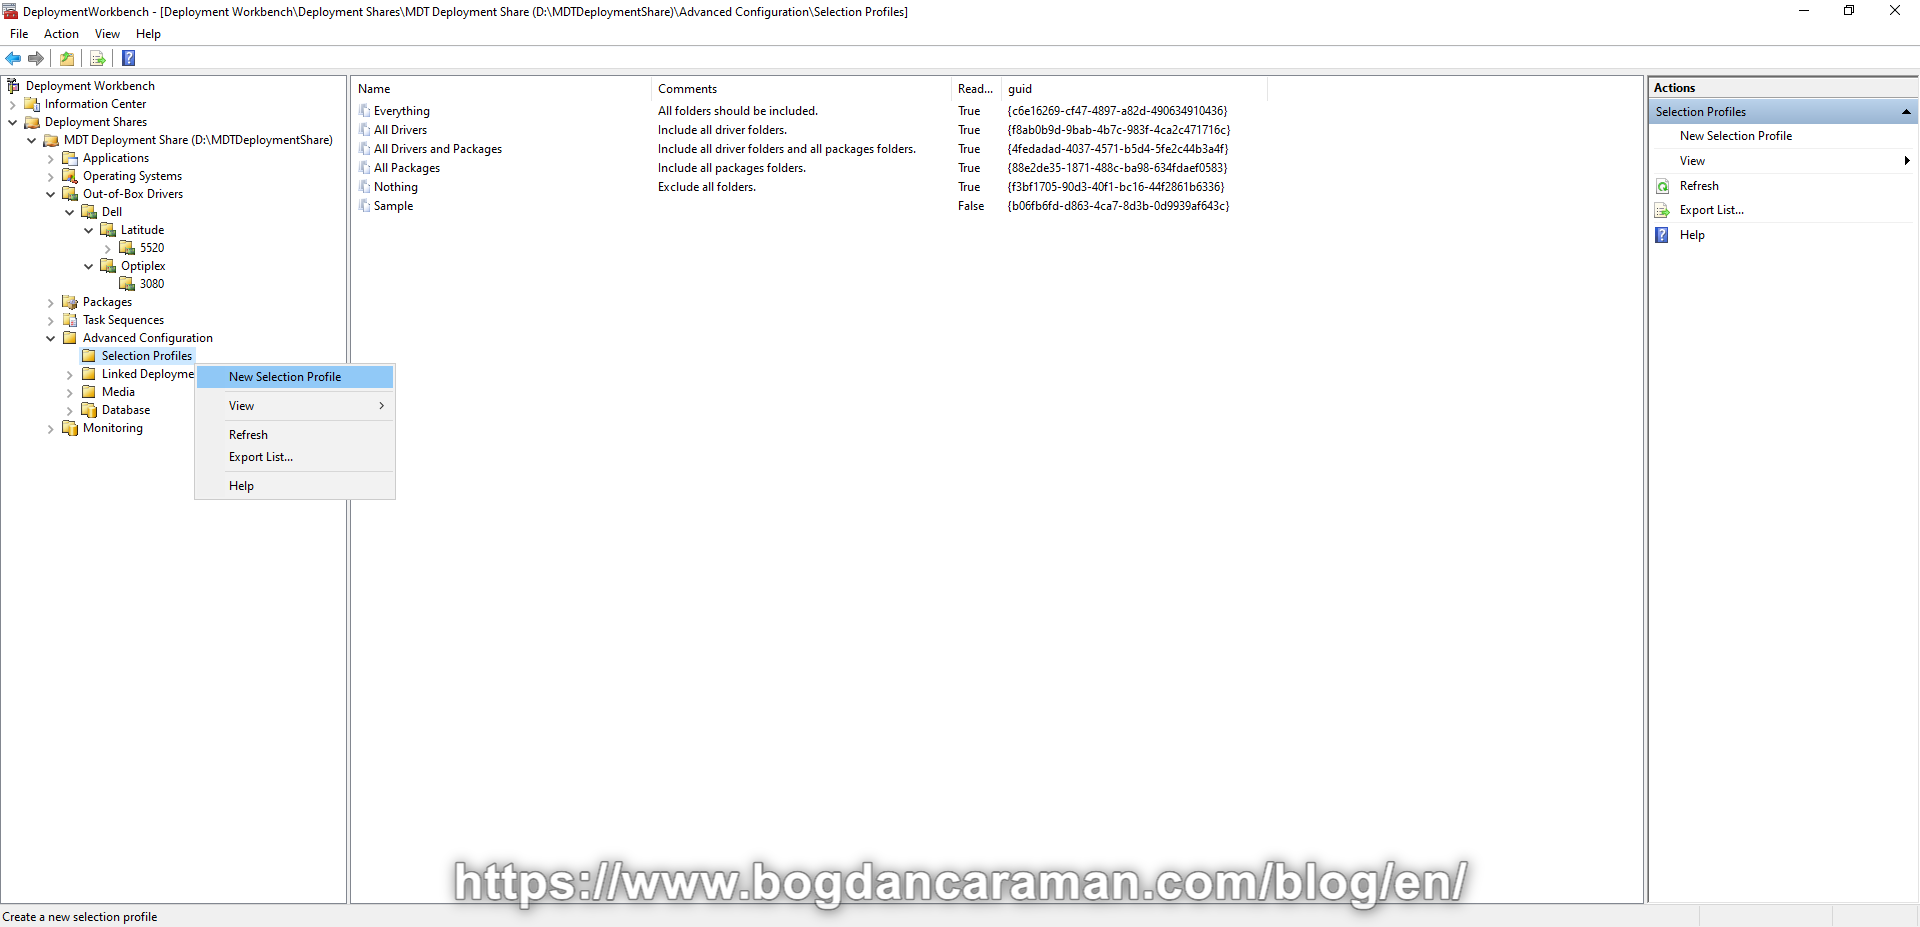
- Selection profile name: Dell Latitude 5520;
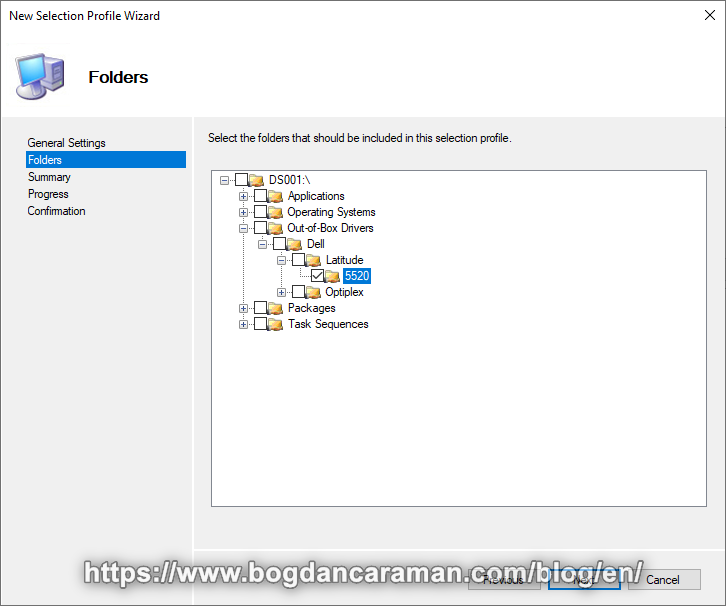
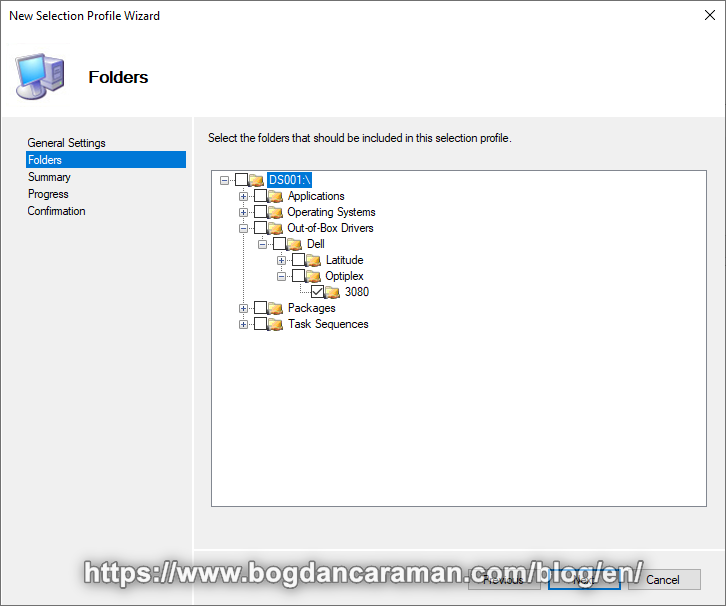
- Select the folders that should be included in the selection profile: 5520;
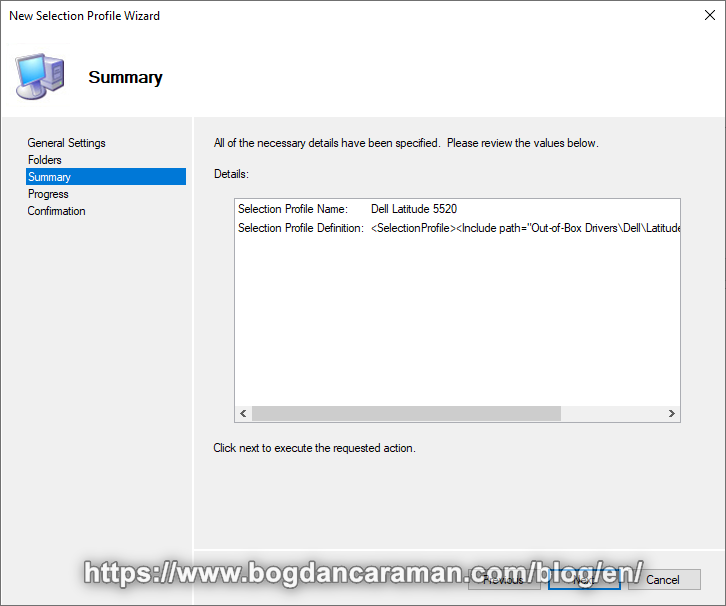
- Please review the values below, Next;
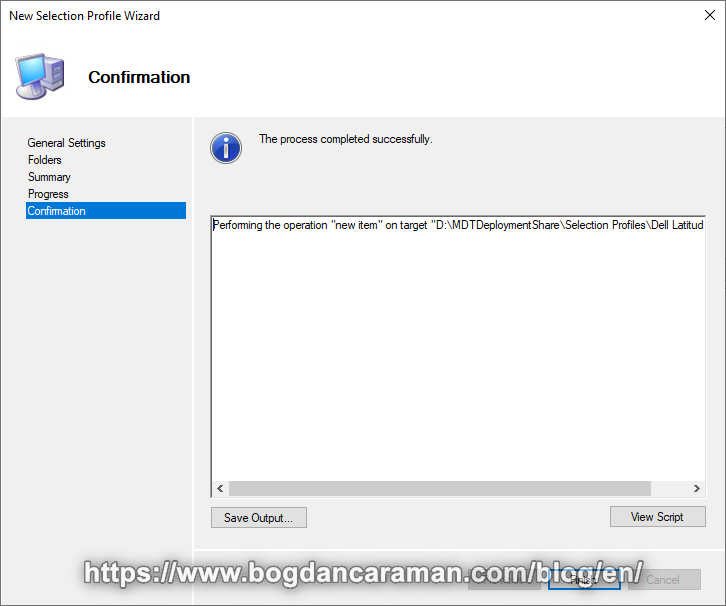
- Finish when the process is completed successfully;
- Create another profile for Dell Optiplex 3080 by selecting 3080;
- Right-click on the MDT Deployment Share node and Properties;
- Navigate to Windows PE, Platform x64, Drivers and Patches, and at Driver Injection, Selection profile: All Drivers and Packages select Include all drivers from the selection profile;

- Right-click the MDT Deployment Share and select Update Deployment Share;
- Use the Completely regenerate the boot images option for the Update Deployment Share Wizard (the process can take 5 to 10 minutes);
- Add applications to the new deployment share before creating the task sequences;
- Download and copy to the D:\UTILS\7-Zip folder the 7-Zip 23.01 MSI Installer (7z2200-x64.msi);
- Right-click on Applications to add a New Application;

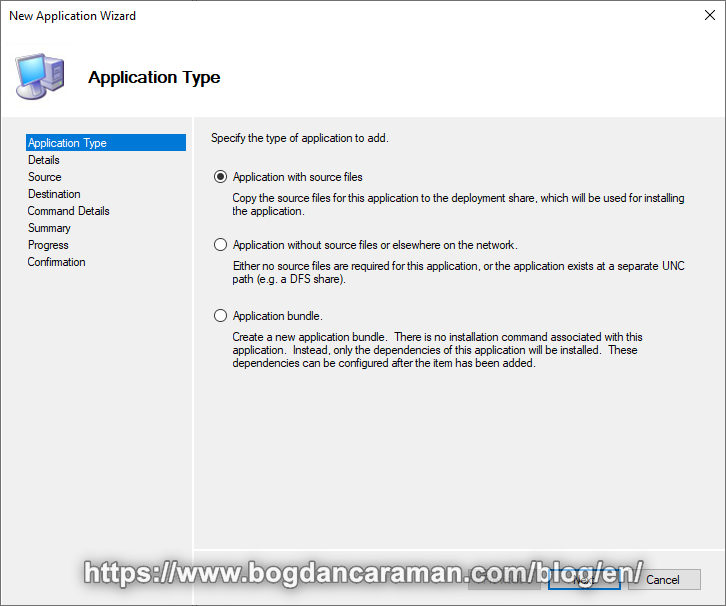
- Specify the type o application to add > Application with source files > Next;
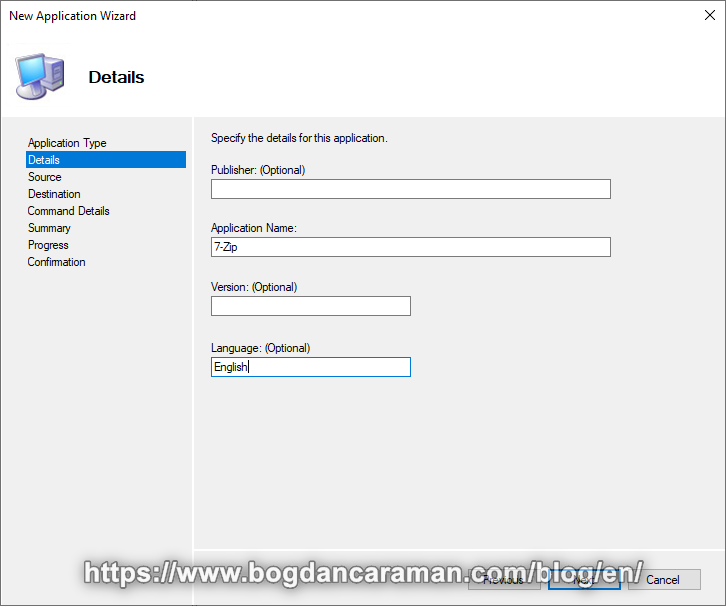
- Specify the details for this application; Application Name: 7-Zip; Language (Optional): English > Next;
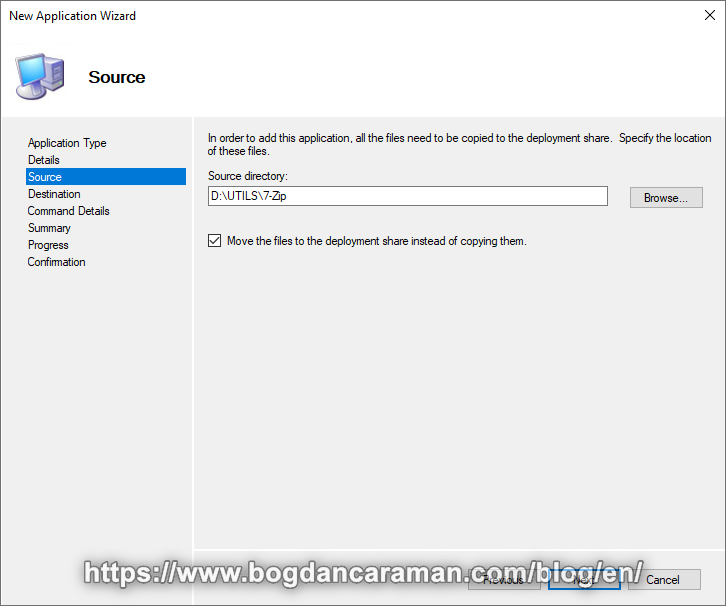
- Browse to the Source directory and select Move the files to the deployment share instead of copying them > Next;
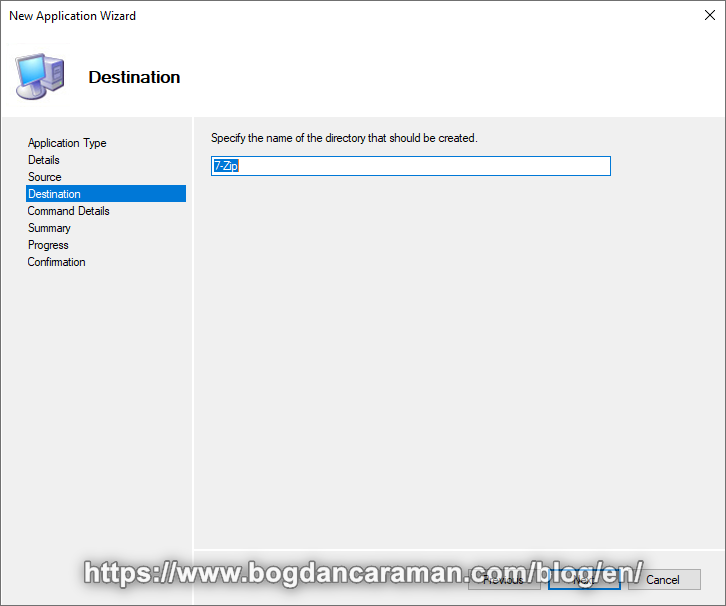
- Specify the name of the directory that should be created (7-Zip) > Next;
- Command line: msiexec.exe /i “7z2200-x64.msi” /qn;
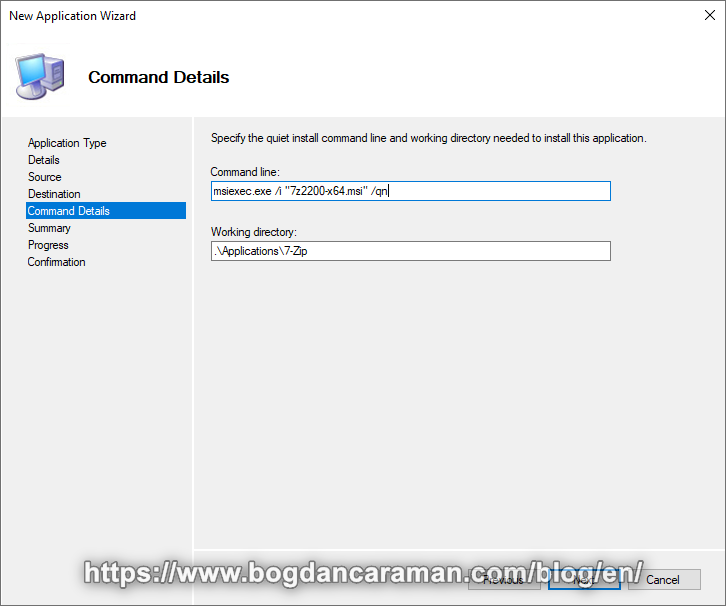
- Click Next to execute the requested action;
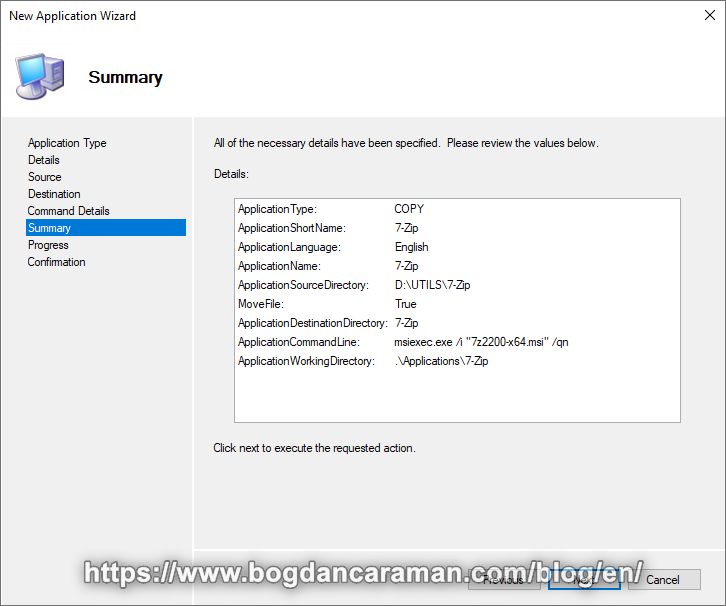
- Finish when the process is completed successfully;
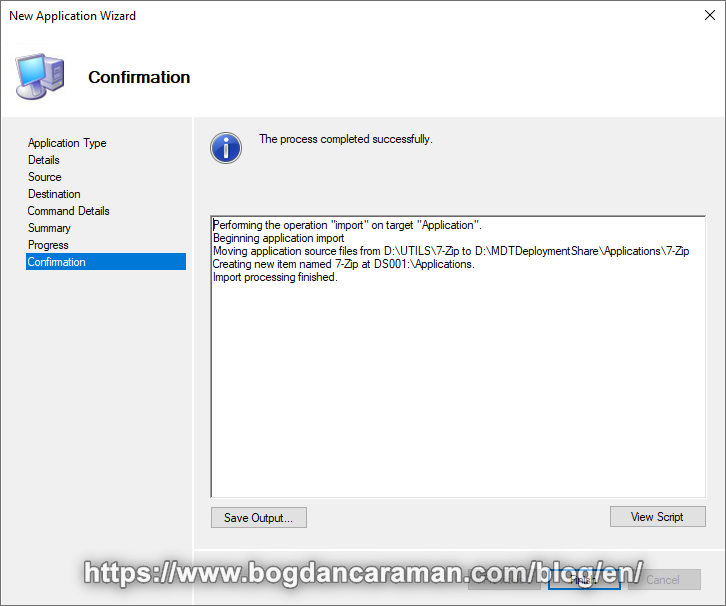
- Now the 7z2200-x64.msi file can be found at D:\MDTDeploymentShare\Applications\7-Zip;
- Prepare Adobe Acrobat Reader DC MSI Deployment;
- Download Adobe Acrobat Reader DC Enterprise full installation AcroRdrDC2200120142_en_US.exe from https://get.adobe.com/reader/enterprise/;
- Once you have obtained the necessary files, you need to extract the installer files from the installer. Browse using Windows Explorer to the folder where you have downloaded AcroRdrDC2200120142_en_US.exe, hold the shift key, and right-click in this folder. Choose “Open PowerShell window here“. In the PowerShell window run:
- .\AcroRdrDC2200120142_en_US.exe -sfx_o”C:\AdobeReaderExtracted” -sfx_ne
- Create Adobe Reader DC Admin installation;
- Change the current directory of your PowerShell window to c:\AdobeReaderExtracted (cd c:\AdobeReaderExtracted);
- Run msiexec to create the admin installation:
- msiexec /a c:\AdobeReaderExtracted\AcroRead.msi TARGETDIR=”c:\AcrobatReaderDC_AIP”
- Click Next when prompted, and click Install;
- Patch the installation MSI file by running the command:
- msiexec /a C:\AcrobatReaderDC_AIP\AcroRead.msi /p C:\AdobeReaderExtracted\AcroRdrDCUpd2200120142.msp

- Click Next when prompted, and click Install then Finish;
- Optional you can optimize the AcroRead.msi with Acrobat Customization Wizard;
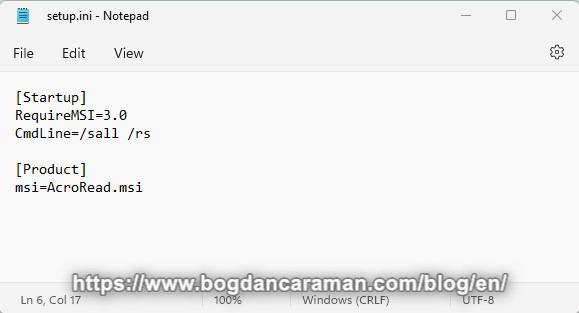
- Create a new text file in the folder AcrobatReaderDC_AIP called setup.ini and add the following to the file:
- Customize Adobe Reader DC with the Adobe Reader Customization Wizard;
- Run the Adobe Customization Wizard DC and choose File > Open Package. Select the file AcroRead.msi file from the C:\AcrobatReaderDC_AIP folder;
- Personalization Options > Suppress display of End User Agreement (EULA);
- Installation Options > Make Reader the default PDF viewer, Remove all versions of Reader, Enable Optimization, Run Installation Silently (no interface), If reboot required at the end of installation Suppress reboot;
- Security > Protected View – Off (Default);
- Online Services and Features > Disable All from Adobe Services Integration and Third-party connectors;
- Once you have finished customizing the installation, generate a transform file (AcroRead.mst) and save it in c:\AcrobatReaderDC_AIP;
- Copy the folder C:\AcrobatReaderDC_AIP to your temporary D:\UTILS folder from MDT01;
- Right-click on Applications to add a New Application (from Deployment Workbench);
- Specify the type o application you want to add > Application with source files;
- Specify the details for this application; Application Name: Adobe Acrobat Reader DC; Language (Optional): English;
- Browse to the Source directory (D:\UTILS\AcrobatReaderDC_AIP) and select Move the files to the deployment share instead of copying them;
- Specify the name of the directory that should be created: Adobe Acrobat Reader DC;
- Command line: msiexec.exe /i “AcroRead.msi” /qn or;
- Command line: msiexec.exe /i “AcroRead.msi” TRANSFORMS=”AcroRead.mst” /qn if you optionaly customized the Adobe Reader;
- Click next to execute the requested action;
- Finish when the process is completed successfully;
- Now the AcroRead.msi file can be found at D:\MDTDeploymentShare\Applications\Adobe Acrobat Reader DC;
- Download to Install other MSI applications;
- Firefox Extended Support Release with Command line: msiexec.exe /i “Firefox Setup 91.10.0esr.msi” /qn;
- Google Chrome with Command line: msiexec.exe /i “googlechromestandaloneenterprise64.msi” /qn;
- Microsoft Edge with Command line: msiexec.exe /i “MicrosoftEdgeEnterpriseX64.msi” /qn;
- Bulk install Teams using Windows Installer (MSI) – Commercial – 64-bit with Command line: msiexec /i Teams_windows_x64.msi OPTIONS=”noAutoStart=true” ALLUSERS=1;
- Zoom Client for Meetings > Download for IT Admin (Download MSI) with Command line: msiexec.exe /i ZoomInstallerFull.msi ALLUSERS=1 /quiet /qn /norestart;
- Zoom Plugin for Microsoft Outlook with Command line: msiexec.exe /i ZoomOutlookPluginSetup.msi ALLUSERS=1 /quiet /qn /norestart;
- Java Runtime Environment (JRE), jre-8u333-windows-i586.exe and jre-8u333-windows-x64.exe with CommandLine: jre-8u333-windows-i586.exe /s and jre-8u333-windows-x64.exe /s;
- To deploy Microsoft Office Standard 2016 mount the ISO or copy all to the new D:\UTILS\Microsoft Office Standard 2016 folder;
- Right-click on Applications to add a New Application (from Deployment Workbench);
- Specify the type o application you want to add > Application with source files;
- Specify the details for this application; Application Name: Microsoft Office Standard 2016; Language (Optional): English;
- Browse to the Source directory (D:\UTILS\Microsoft Office Standard 2016 or from the mounted ISO);
- Specify the name of the directory that should be created: Microsoft Office Standard 2016;
- Command line: setup.exe;
- Select the Properties of the created application and go to the Office Products tab;
- Office product to install: Standard;
- Office languages: en-us;
- Product key: input Office 2016 key (if applicable);
- Display level: None;
- Accept EULA: True;
- Always suppress reboot: True;

- To deploy Microsoft Skype for Business Basic (2019) extract files by running the following cmdlet:
- C:\temp>lyncentry.exe /extract:C:\temp\SFB /quiet;
- Copy All from C:\temp\SFB to the new D:\UTILS\Microsoft Skype for Business Basic folder;
- Right-click on Applications to add a New Application (from Deployment Workbench);
- Specify the type o application you want to add > Application with source files;
- Specify the details for this application; Application Name: Microsoft Skype for Business Basic; Language (Optional): English;
- Browse to the Source directory (D:\UTILS\Microsoft Skype for Business Basic);
- Specify the name of the directory that should be created: Microsoft Skype for Business Basic;
- Command line: setup.exe;
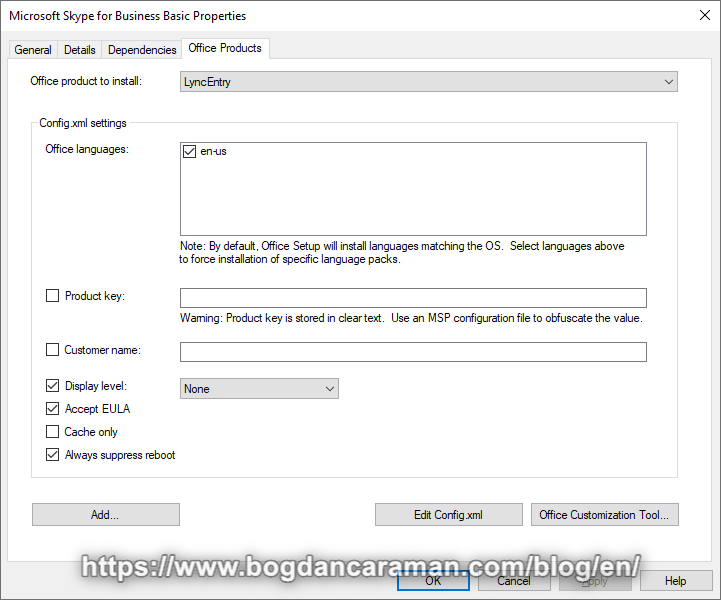
- Select the Properties of the created application and go to the Office Products tab;
- Office product to install: LyncEntry;
- Office languages: en-us;
- Apply > OK to Exit from Properties;
- Select Properties again and got to the Office Products tab;
- Display level: None;
- Accept EULA: True;
- Always suppress reboot: True;
- Right-click the MDT Deployment Share and select Update Deployment Share;
- Use the Completely regenerate the boot images option for the Update Deployment Share Wizard (the process can take 5 to 10 minutes);
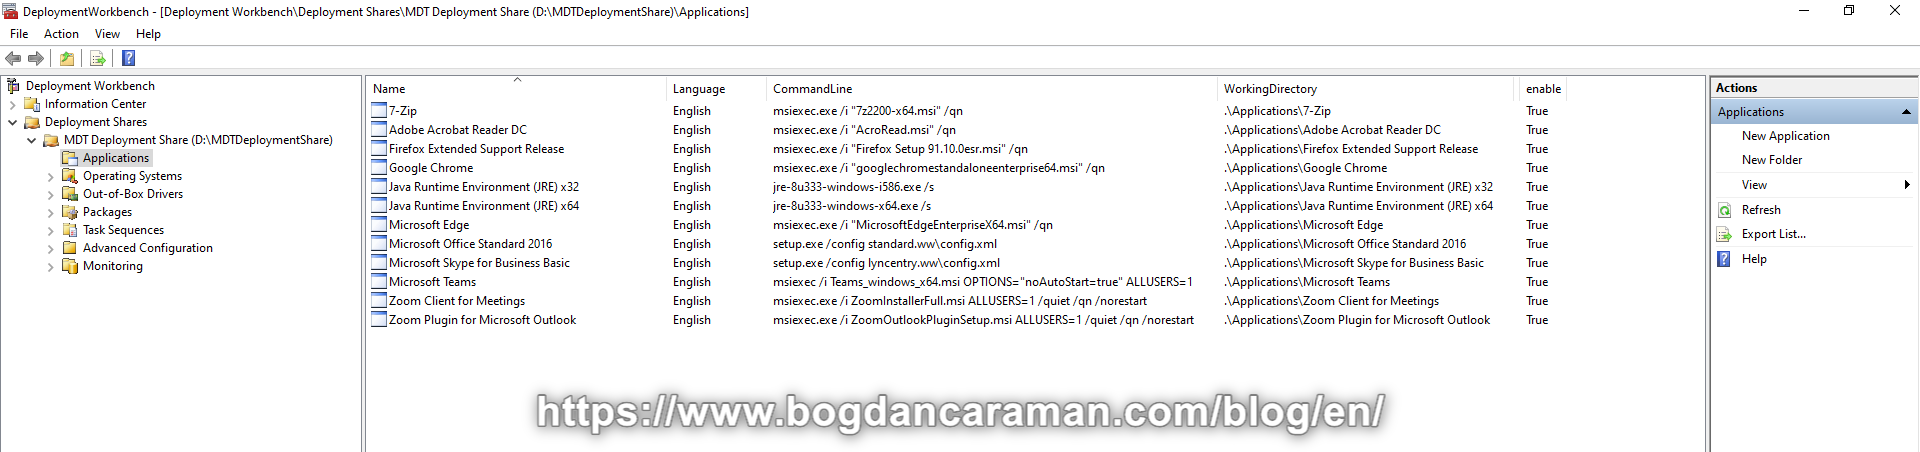
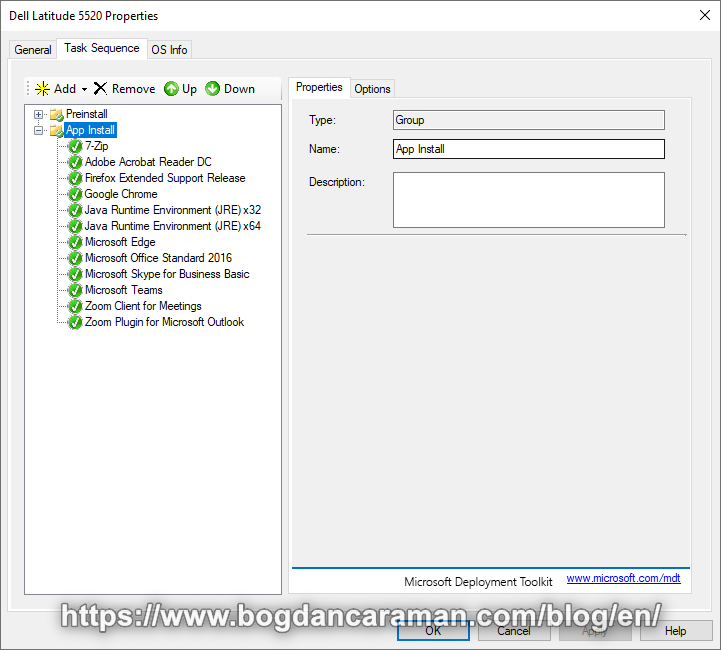
- Here is a Resume of all Added Applications:
- Create the deployment task sequence;
- In the Deployment Workbench, under the MDT Production node, right-click Task Sequences > New Task Sequence;
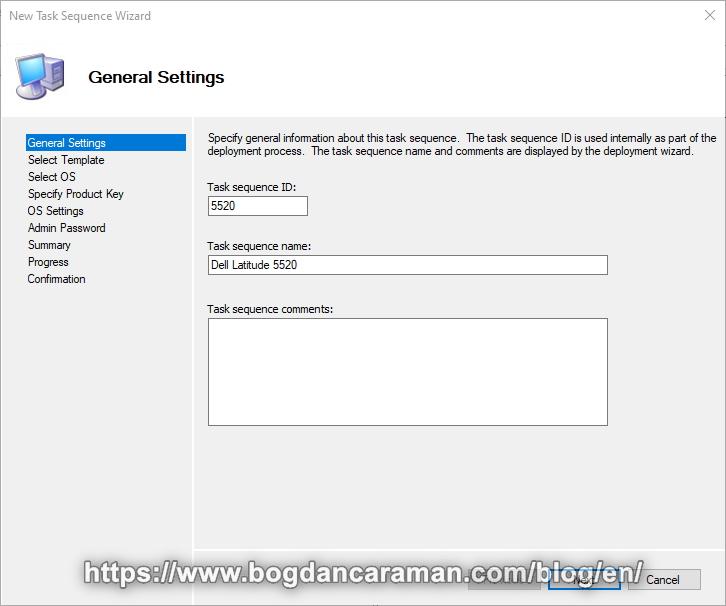
- New Task Sequence Wizard > General Settings > Task Sequence ID: 5520, Task sequence name: Dell Latitude 5520 > Next;
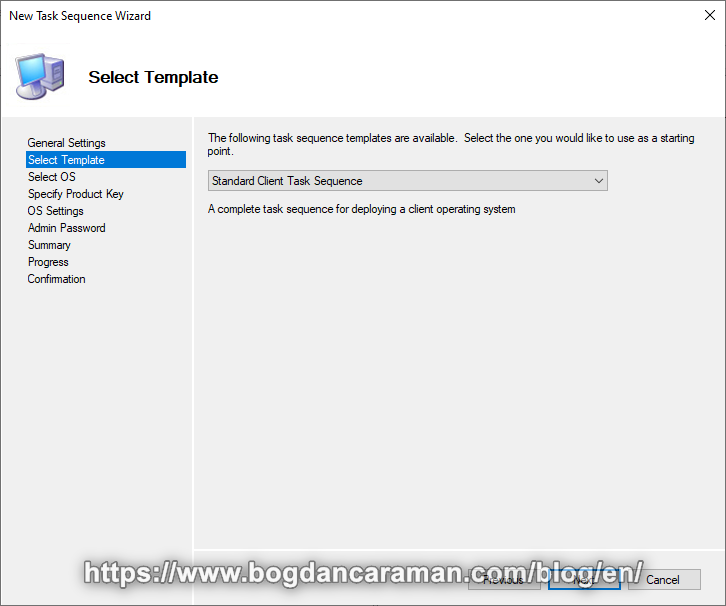
- New Task Sequence Wizard > Select Template > Standard Client Task Sequence > Next;
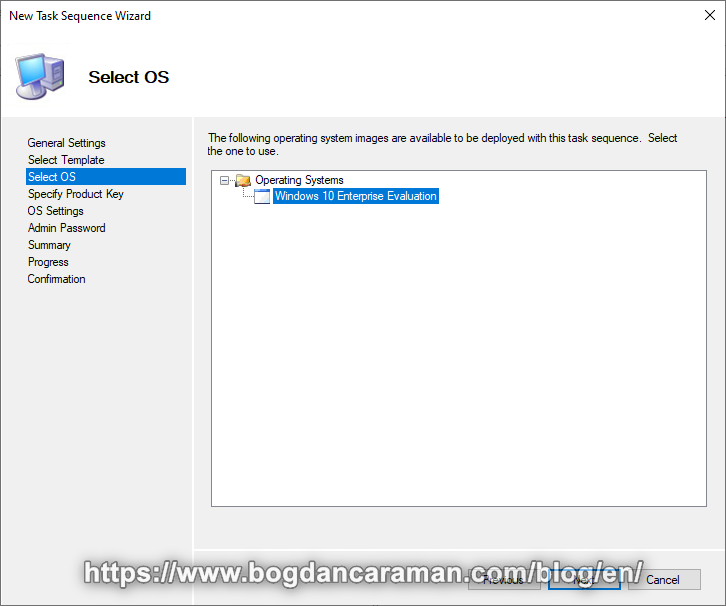
- New Task Sequence Wizard > Select OS > Operating Systems: Windows 10 Enterprise Evaluation > Next;
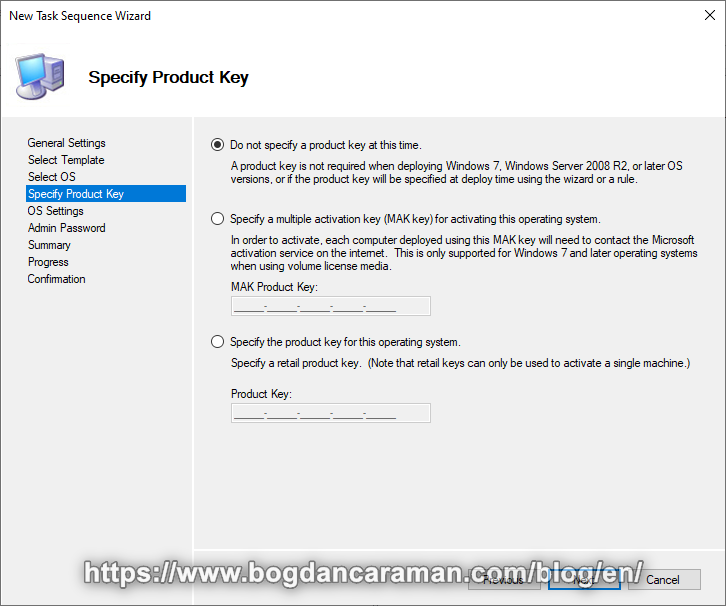
- New Task Sequence Wizard > Specify Product Key > Do not specify a product key at this time > Next;
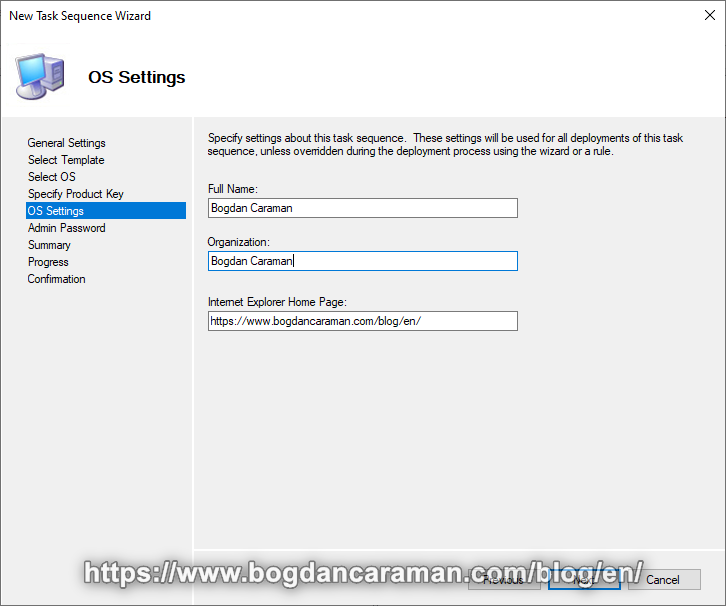
- New Task Sequence Wizard > OS Settings > Full Name, Organization, Internet Explorer Home Page > Next;
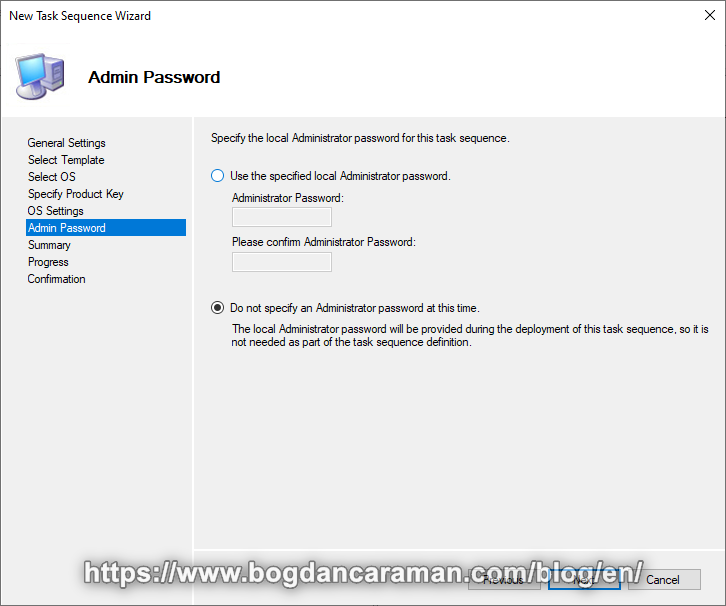
- New Task Sequence Wizard > Admin Password > Do not specify an Administrator password at this time > Next;
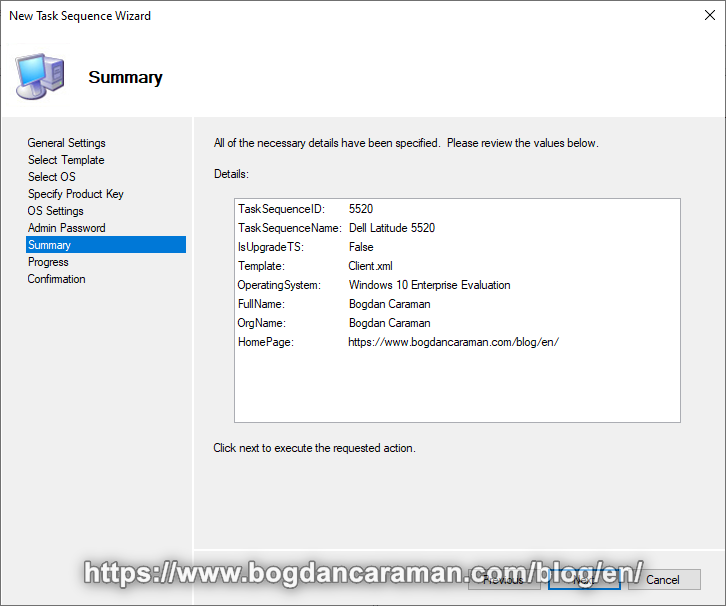
- New Task Sequence Wizard > Summary > Next;
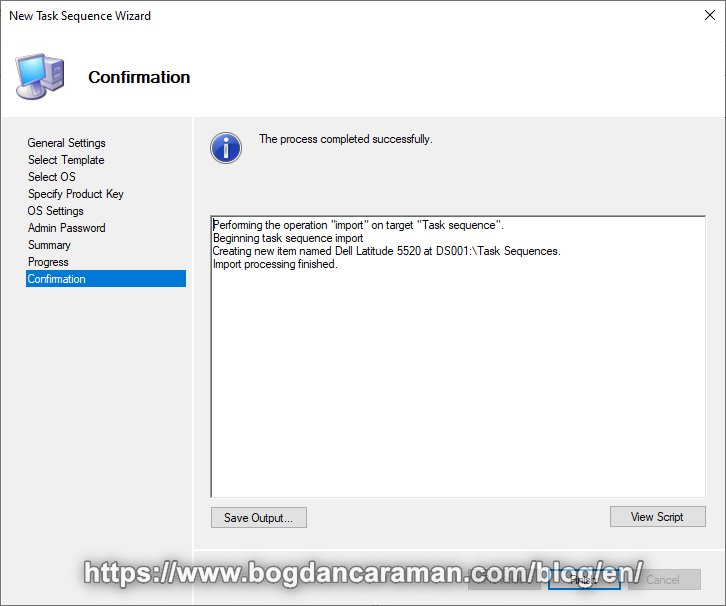
- New Task Sequence Wizard > Confirmation > Finish;
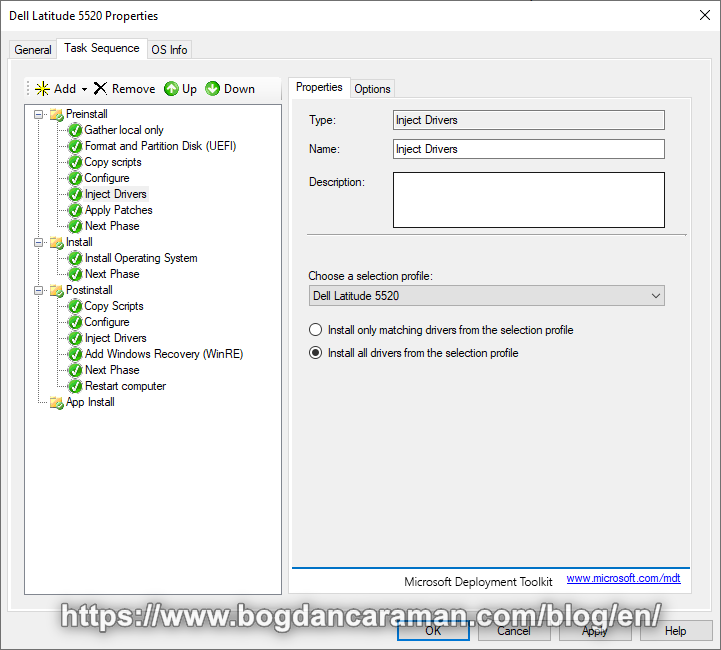
- In the Deployment Workbench, under the MDT Production node, select Task Sequences > Right-click on Dell Latitude 5520 > Properties and go to the Task Sequence tab;
- Setup Preinstall: Gather local only, Format and Partition Disk (UEFI), Copy scripts, Configure, Inject Drivers, Apply Patches, Next Phase; Install: Install Operating System, Next Phase; Postinstall: Copy Scripts, Configure, Inject Drivers, Add Windows Recovery (WinRE), Next Phase, Restart computer; Create App Install Group;
- At Inject Drivers > Choose a selection profile: Dell Latitude 5520 > Install all drivers from the selection profile;
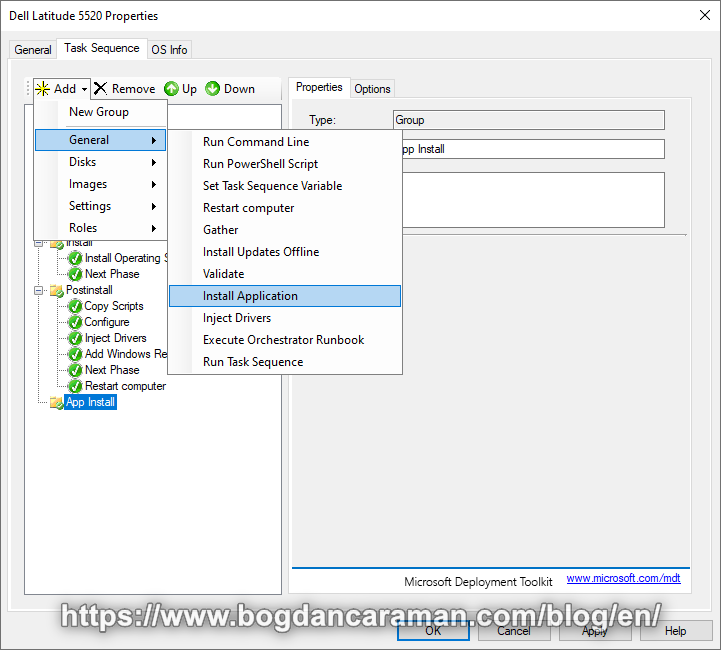
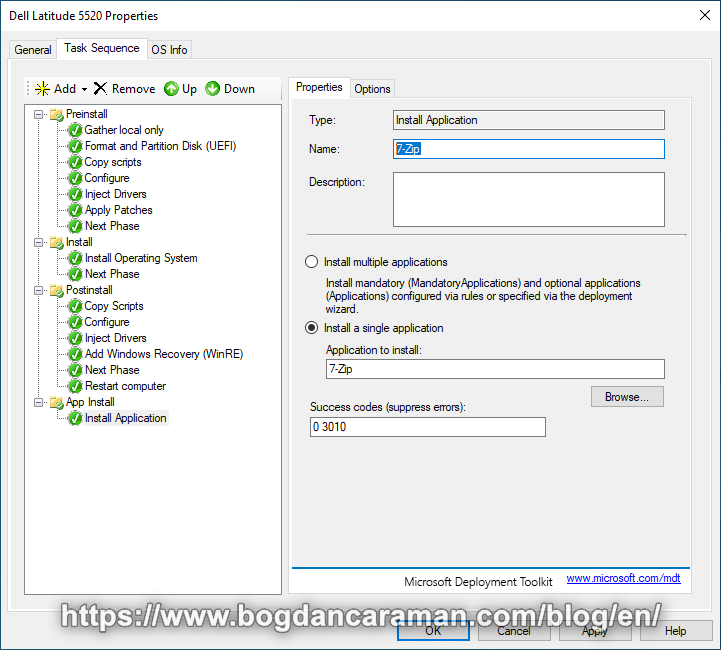
- Select App Install Group > Add > General > Install Application;
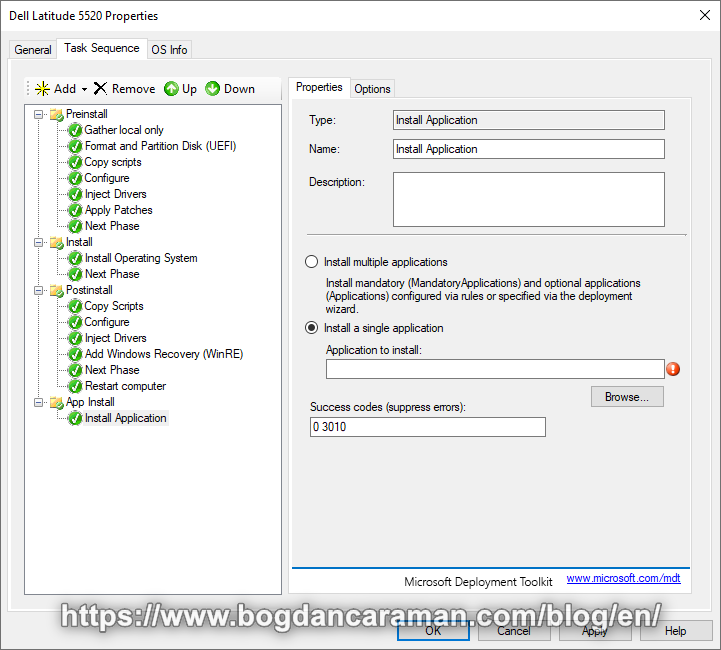
- App Install > Install Application > Install a single application > Browse…;
- Select an item > Applications > 7-Zip;
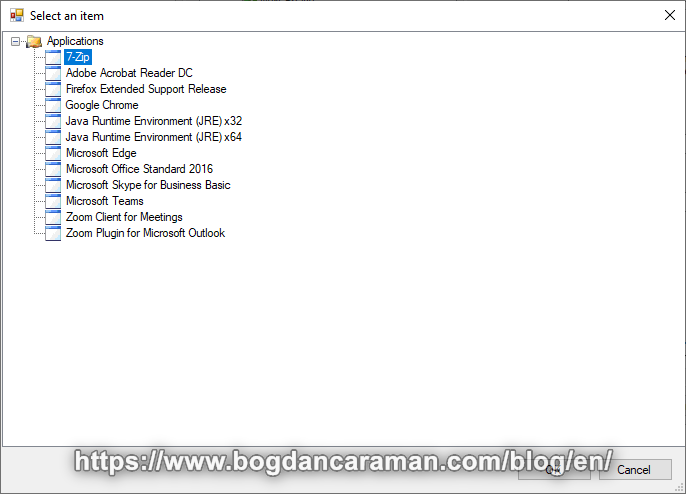
- From Properties change the Name to 7-Zip > Apply;
- Install the rest of the Apps;
- Create the deployment task sequence for Dell Optiplex 3080;
- In the Deployment Workbench, under the MDT Production node, right-click Task Sequences > New Task Sequence;
- New Task Sequence Wizard > General Settings > Task Sequence ID: 3080, Task sequence name: Dell Optiplex 3080 > Next;
- New Task Sequence Wizard > Select Template > Standard Client Task Sequence > Next;
- New Task Sequence Wizard > Select OS > Operating Systems: Windows 10 Enterprise Evaluation > Next;
- New Task Sequence Wizard > Specify Product Key > Do not specify a product key at this time > Next;
- New Task Sequence Wizard > OS Settings > Full Name, Organization, Internet Explorer Home Page > Next;
- New Task Sequence Wizard > Admin Password > Do not specify an Administrator password at this time > Next;
- New Task Sequence Wizard > Summary > Next;
- New Task Sequence Wizard > Confirmation > Finish;
- Now, go to the D:\MDTDeploymentShare\Control\5520 folder and copy all files (ts.xml and Unattend.xml) to the D:\MDTDeploymentShare\Control\3080 to have the same Task Sequence like Dell Latitude 5520;
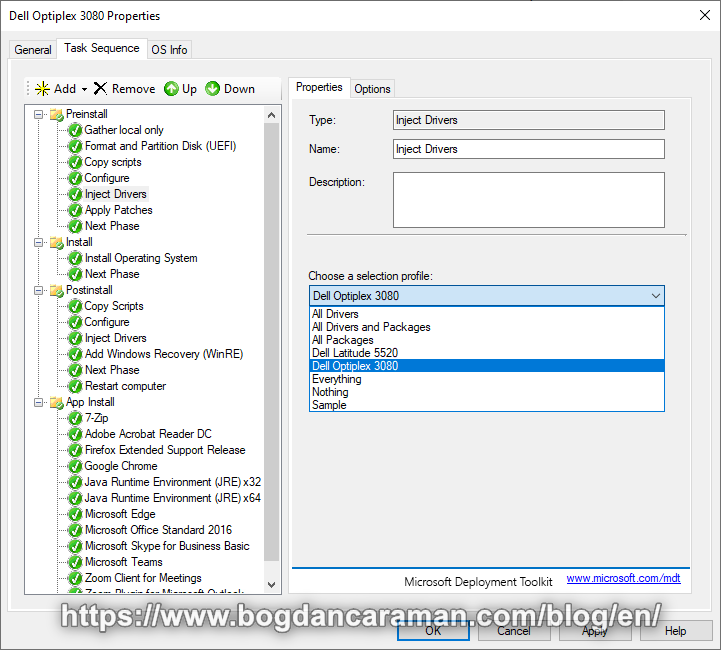
- Go to Dell Optiplex 3080 Properties > Inject Drivers > Choose a selection profile: Dell Optiplex 3080 > and also choose to Install all drivers from the selection profile;
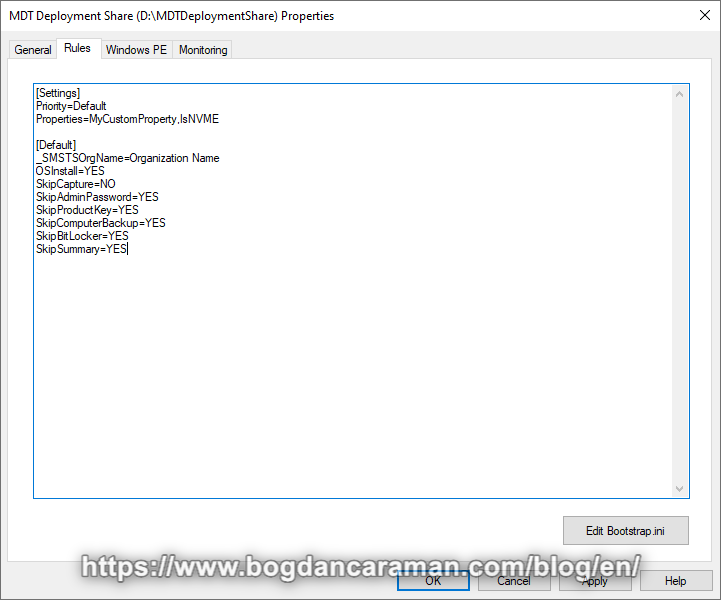
- Configure the MDT Deployment Share rules;
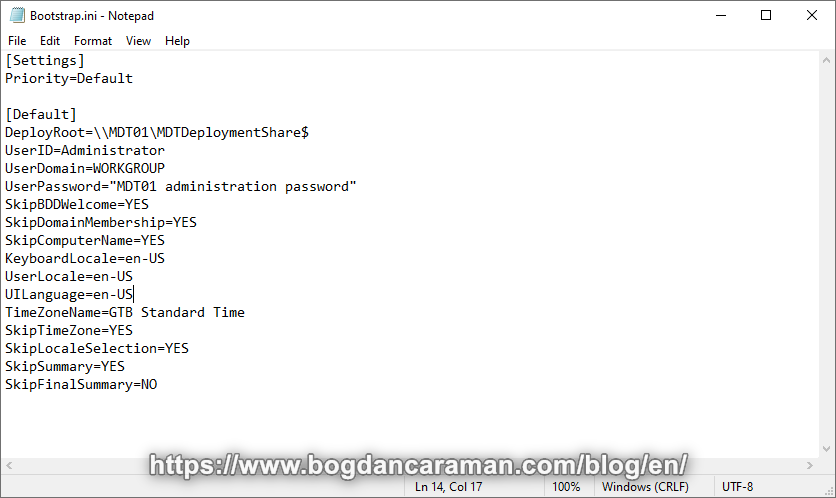
- Deployment Workbench > Right-click on MDT Deployment Share > Properties > Rules (see The rules explained);
- Edit Bootstrap.ini and save it;
- Right-click the MDT Deployment Share and select Update Deployment Share;
- Use the Completely regenerate the boot images option for the Update Deployment Share Wizard (the process can take 5 to 10 minutes);
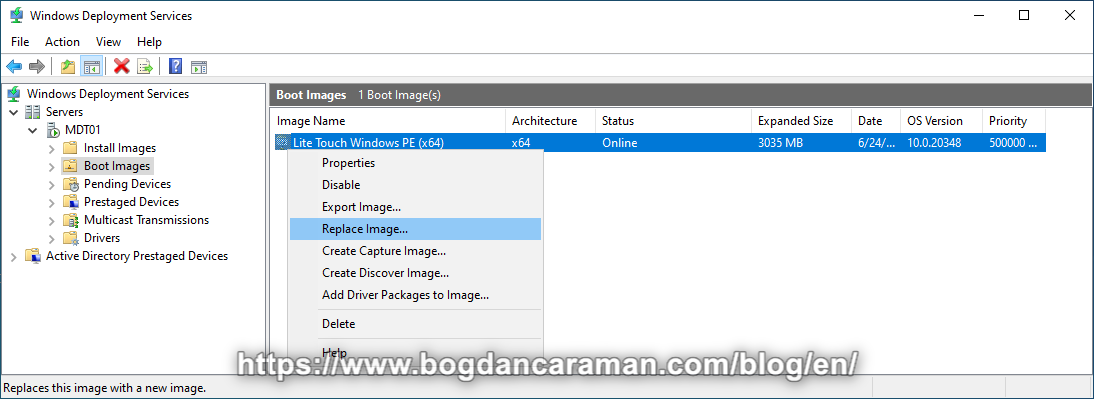
- Open Windows Deployment Services > Servers > MDT01 > Boot images > Right-click on Lite Touch Windows PE (x64) Image Name > Replace image… > Browse… > D:\MDTDeploymentShare\Boot > and select the updated LiteTouchPE_x64.wim;
- Right-click on MDT01 > All Tasks > Restart the Windows Deployment Services;
- Prepare devices before deployment;
- BIOS Settings: PXE boot, Secure Boot Enable;
- Connect with the LAN Ethernet Network Cable (RJ45) the Dell Latitude 5520 and the MDT01 server;
- Boot with PXE and follow the instructions;
- Select the Task Sequence for deployment (Dell Latitude 5520);
- For multiple installations connect the MDT01 server with a 24-Port 10G Network Switch starting with port 2 and then connect numerous laptops (5520 models) to the switch;
- Update an Application;
- For example, when a new version launched (ex. 102.0esr) of Firefox Extended Support Release, download the Firefox Setup 102.0esr.MSI file and copy it to the D:\MDTDeploymentShare\Applications\Firefox Extended Support Release\ folder;
- In the Deployment Workbench, under the MDT Production node, select Applications and click on Firefox Extended Support Release;
- Change Command line from msiexec.exe /i “Firefox Setup 91.10.0esr.msi” /qn with msiexec.exe /i “Firefox Setup 102.0esr.MSI” /qn;
- Right-click the MDT Deployment Share and select Update Deployment Share.
- Finished!
- Please disregard the old software versions in this article; they remain as examples, so I recommend you always download the new ones.