If you followed the article about How to disable automatic driver downloads on Windows 11 it’s time to obtain and install the latest drivers for Windows 11 by yourself.
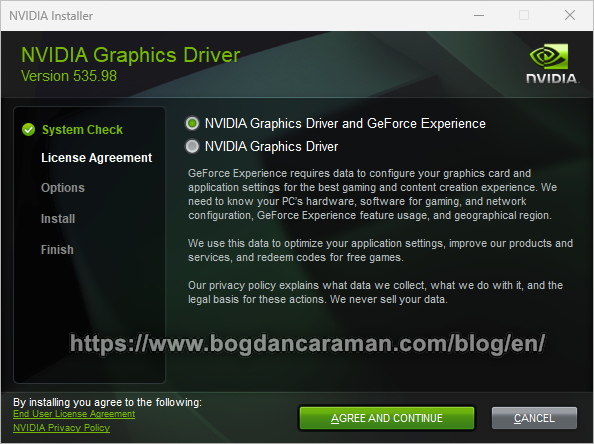
If your device has an NVIDIA card, make sure to search for the latest drivers from the Official Drivers | NVIDIA website and install it.
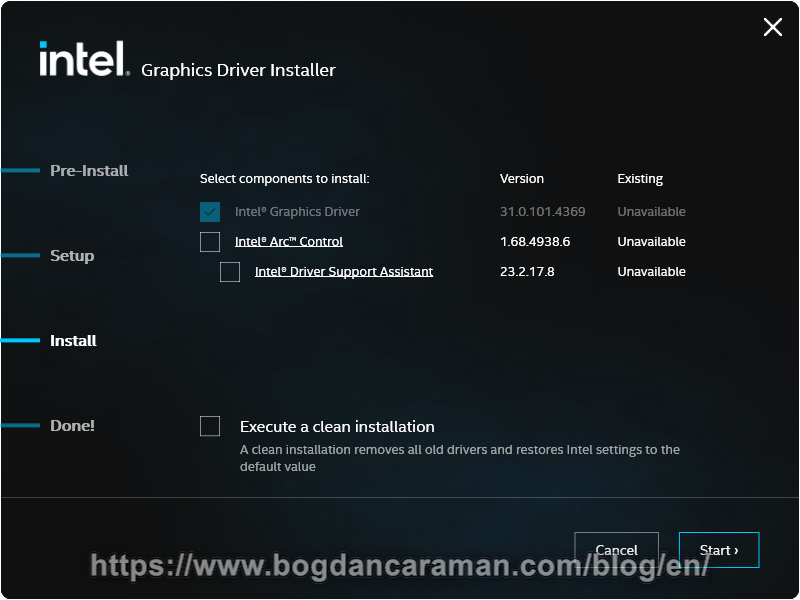
Obtain the latest Intel® Graphics Driver by using Automatic Driver and Software Updates or if you already know your product download the necessary driver to install it;
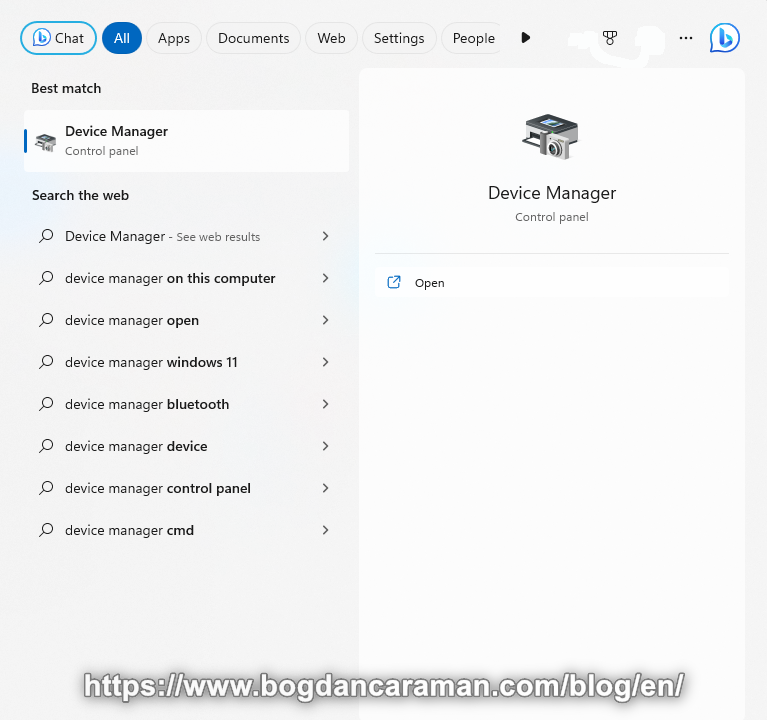
Press the Windows + S keys to open the Windows Search;
In the search bar, type Device Manager and choose Open from the right pane;
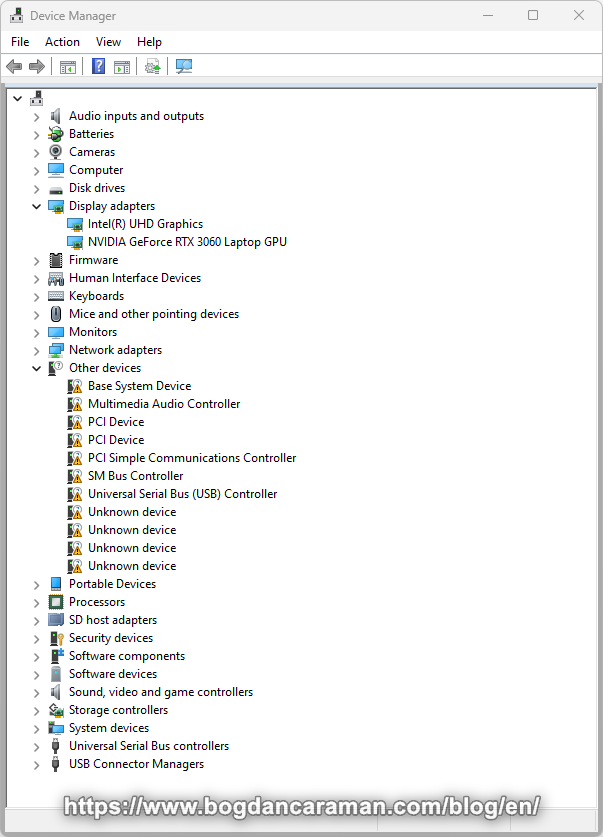
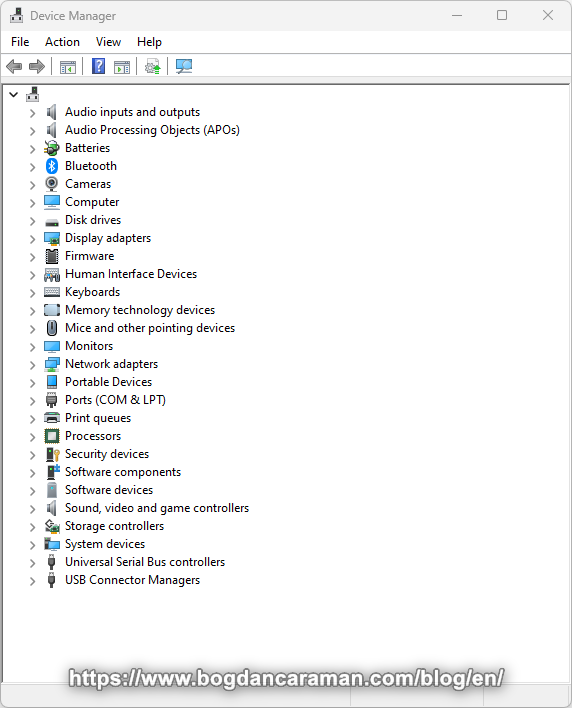
The Display adapters indicate that the drivers have been successfully installed; Intel(R) UHD Graphics and NVIDIA GeForce RTX 3060 Laptop GPU in our example;
To obtain drivers for Other devices use the Free Version of Driver Easy;
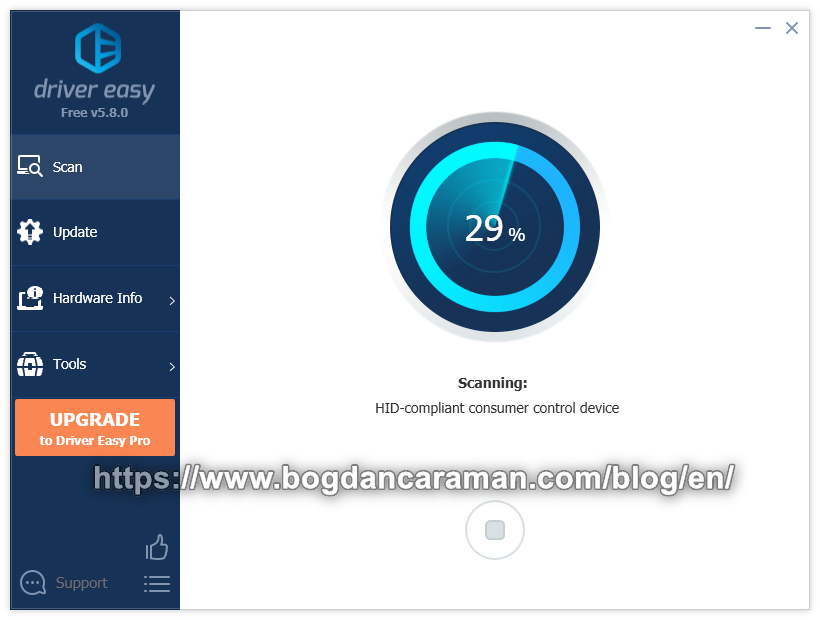
Press Scan Now;

Wait for the scanning process to complete;
After scanning, it shows Devices with missing driver(s) and Devices with outdated driver(s);
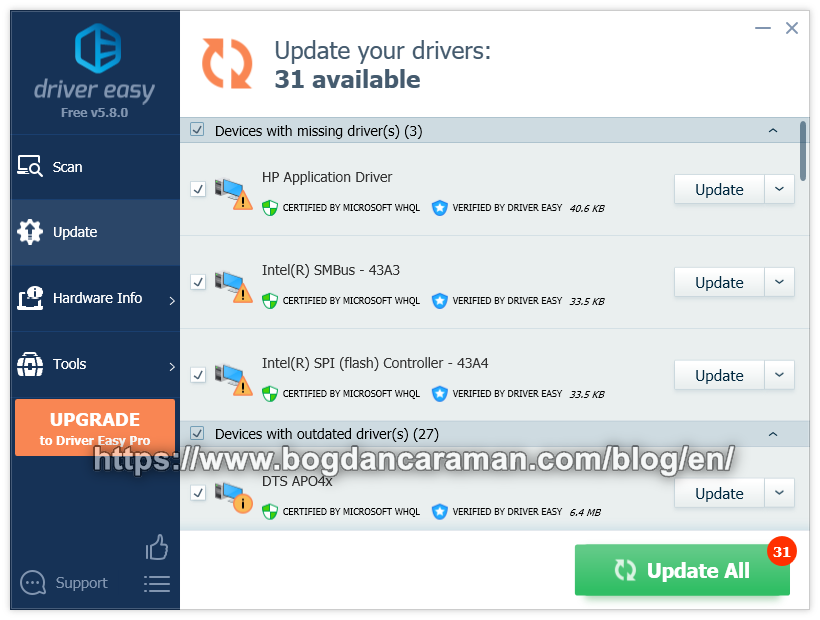
Click the Update button for each driver to be downloaded to your device;
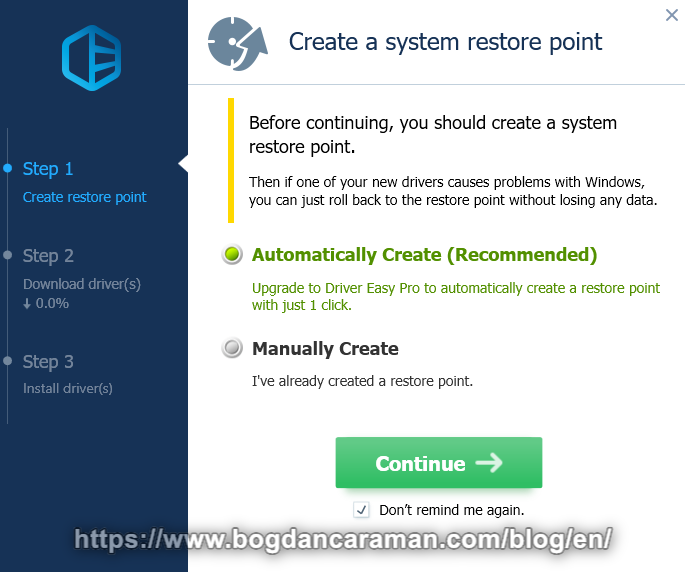
Skip the “Create a system restore point” by clicking the X;
The Download Speed will be approximately 56 KB/sec;
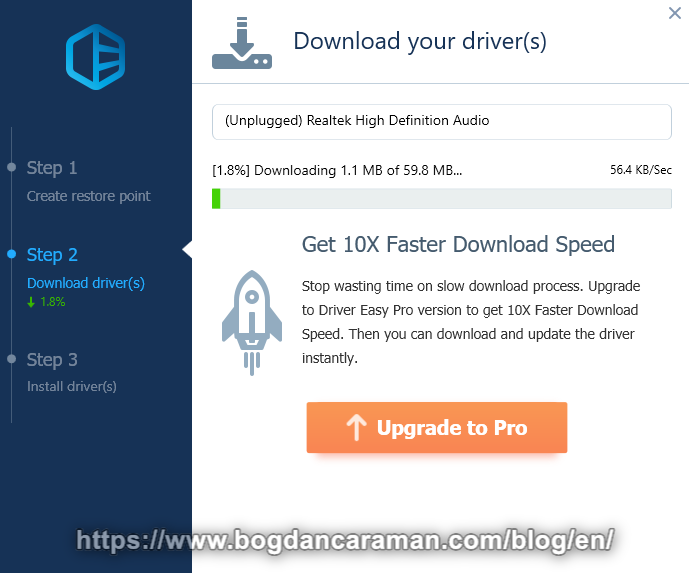
It could take like 2-3 hours to Download all the drivers;
Open File Explorer (Windows Key + E) and navigate to the
C:\Users\…\AppData\Roaming\Easeware\DriverEasy\drivers\
Copy the “drivers” folder to a safe place, like your portable SSD or another device;
Open the Device Manager again and click Action > Add Drivers;
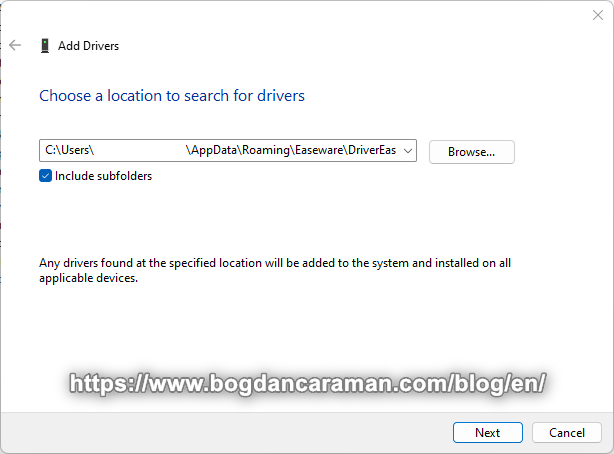
Use the Default location to search for the drivers and not your backup device;
After Restart your Device Manager should look with “No Yellow Exclamation Mark”;
If you still have an Exclamation Mark, also check with your manufacturer the necessary driver with the automatic detection tool from the vendor.
Alternative to Driver Easy (starting from version 6 is no longer Free) is Snappy Driver Installer Origin.